|
Im taking a little break from reviewing to immerse myself in art therapy. These past few days have been high strung what with being public relations people (AKA tour guides), reviewing for a board exam and to top it all off --down with the flu. Hubby and i have been keeping long nights and stressful days which is why i find that some #arttherapy is needed. 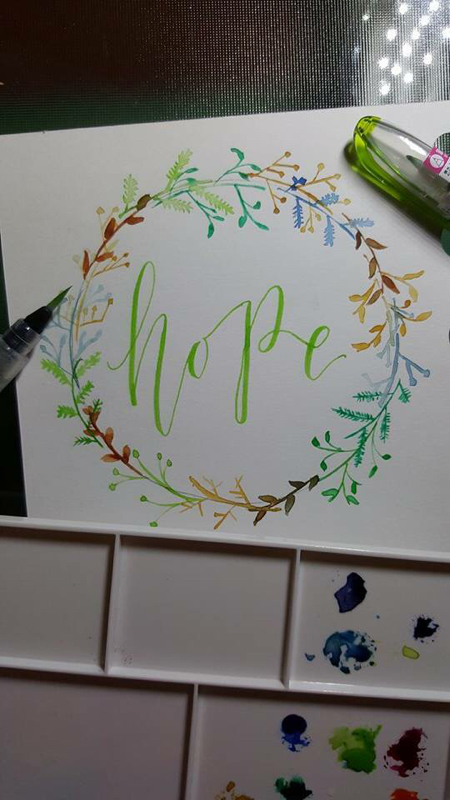 Ive decided to bust out my new holbein watercolor set. Yes guys i have graduated to a full-on "artist" set of watercolors becauase i was forever getting annoyed with how prang would dry up sticky--making my papers clump up--or that ants seemed to love them making my storage its own ant hill. Holbein is so much more pigmented (which is probably why its so much more expensive) because with just a tiny dollop i am able to paint a lot. Colors are also more vibrant and dont get watered down so easily. What i am not happy though is that i was only able to buy them in the tube form and not in the pan--which translates to me having to get a mixing palette. But aside from this i am extemely happy with the purchase. For my test piece i decided to make a watercolor wreath. I dont know why but laurels and wreaths are all the rage now in the "mod" art scene. I see it all over Pinterest and my IG feed. So why not go with the flow and create one of my own? It was a relatively easy process, i just google-image what a wreath looked like and draw inspiration from the photos. The process was more for my brain to relax with the easy strokes and no-brainer painting. The finish product came together beautifully and i topped it off with my "claim word" for the day:HOPE. So there. Enjoy!
0 Comments
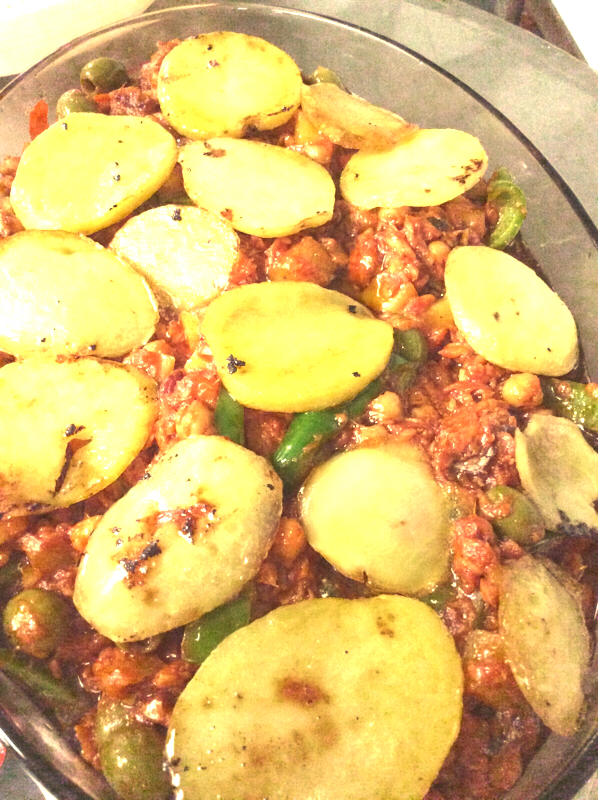 finished & plated: Bacalao Recipe Our family has always bonded over food. And the one thing that I will forever associate with my grandfather is his Bacalao dish. The clamor for this is so monumental that my uncles & aunts (and us grandkids) fight over who can get the most servings. Bacalao for us is served every Holy Week, especially on Good Friday and Black Saturday. It has become tradition that we beg my grandpapa,Papajoelouis, to make it every year and our vacation to Legazpi will not be complete without it. Now that he is getting older the dish is harder to make because (1) with worsening eyesight it is harder to debone the fish and (2) he forgets the recipe. Believe me Ive tried coercing it from him but it might be so secret that what he tells me doesn't seem to taste as good as his final product. Luckily I was able to find a recipe that is somewhat similar and with a little tweaks my uncles and aunt say it tastes just as good!! 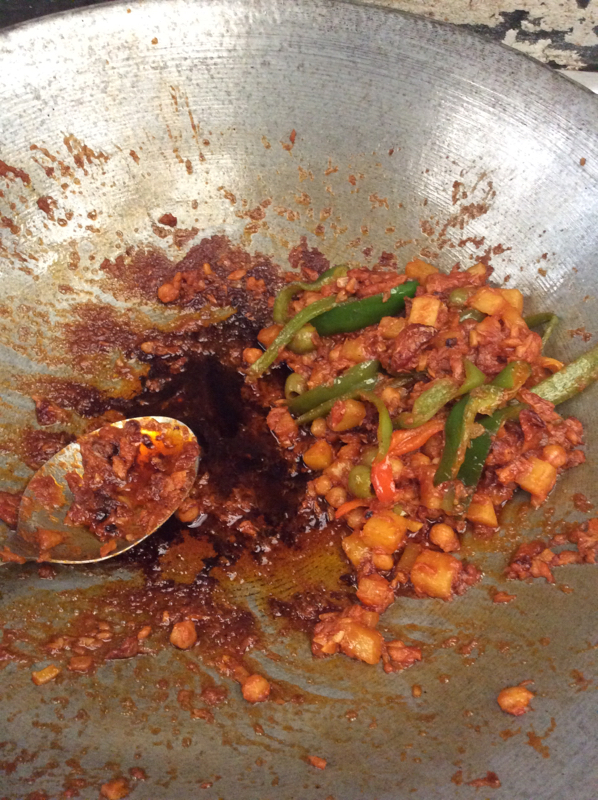 Cooking in the pan What will u need? 1. Salted (daing) labahita -500 g 2. Olive oil for frying and seasoning -1/3 c 3. Garlic (chopped) -1/3c 4. Potatoes (chopped and sliced circularly) -4 big pcs 5. Garbanzos - 2 cans 6. Tomato sauce (200g) and paste (3tbsp) 7. Bell pepper (sliced into strips)-4pcs 8. Olives (optional) 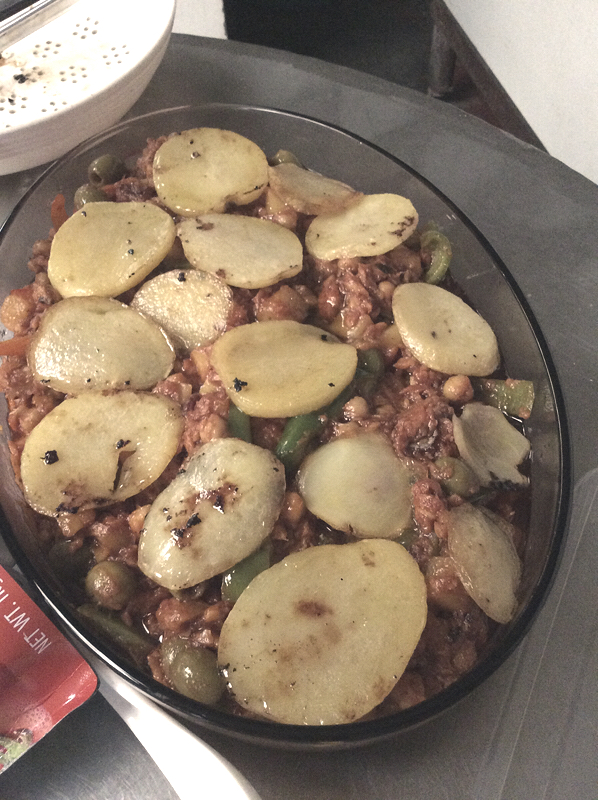 First soak the fish overnight to remove most of the salt. Then dredge in a little flour and fry with olive oil. Afterwards drain and wait for it to cool. Once cooled you can debone the fish. In a pan saute the garlic, add the garbanzos followed by the tomato sauce and paste. Afterwards add the chopped potatoes, bell peppers and olives. Cover and simmer for about 15 minutes. While this is happening you can fry the circularly sliced potatoes. We will use this as toppings once we plate the Bacalao. After the 15 minutes is up you can add the deboned fish. Stir every once in a while for about 5 minutes. Once the time is up you can plate the dish!! Place all of the Bacalao in a pyrex dish and arrange the fried potatoes on top. Tadah serve while hot on a bowl of heaping rice! What i love about this is that it gets better every time you reheat the Bacalao. Yummmm!!! For my birthday weekend I decided to attend a workshop by Abbey Sy. Luckily the stars have aligned allowing me to be 1 of only 12 slots Fully Booked opened for their Alabang session. Abbey's classes get full fast!I was even wait listed and perhaps God was being extra generous he freed up a spot for me.  Class started a little past two and I was a bit intimidated by my classmates. They all looked so artsy that I wondered if I'd be the most kulelat (suckiest) of them all. The reg fee covered snacks and worshop materials. Aside from learning from the teacher another thing that draws me to these kinds of workshops are all the freebies they give to attendees. This was no exception. Check out what I got! 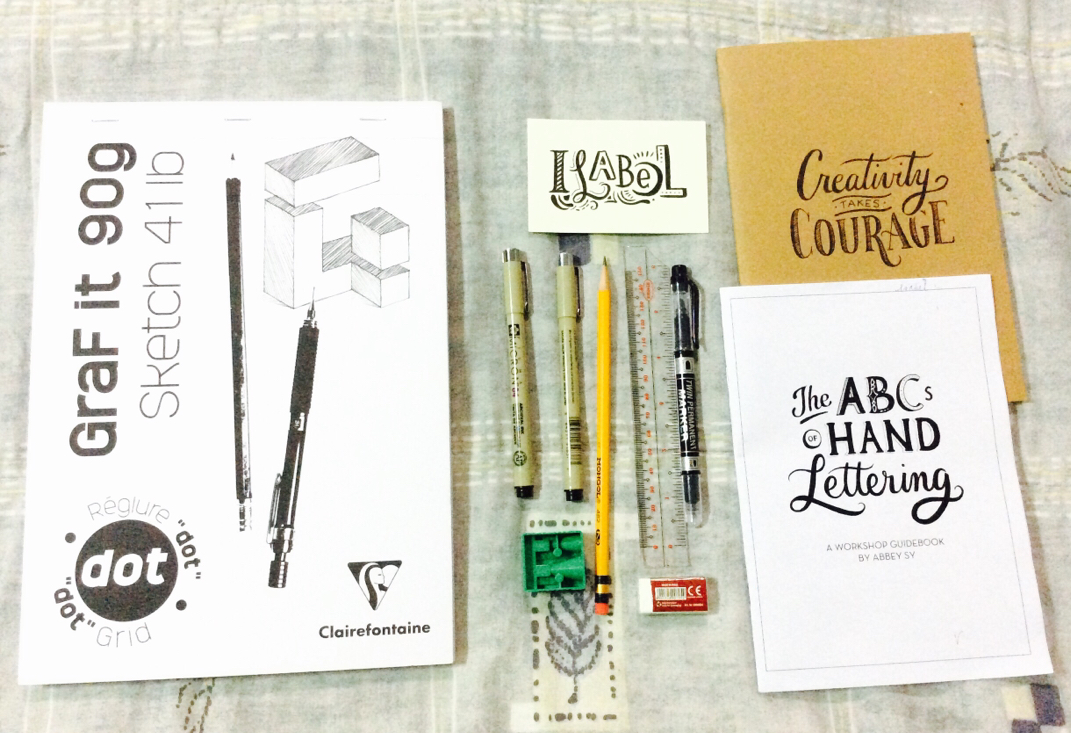 Workshop treasures So much stuff!! The 2 things that totally made my hoarding self shout for joy were the micron pens and the dot pad. The pens alone are so hard to find and always go out of stock. The dot pad is by Clairfontane and isn't exactly cheap! So to get these and more just really made my day! Class started by going through Abbey's workshop booklet that outlines different terminologies, details of font kinds and even tips on hot to make your works of art POP! Our first try was a drill about writing one word in different font styles: serif, sans serif, script and decorative. Time allowed me to do 2 words: forever & adventure. Relatively easy I finished after a few minutes. Meanwhile Abbey lends us her literature wealth by passing around different books we could get inspiration from for our final product. 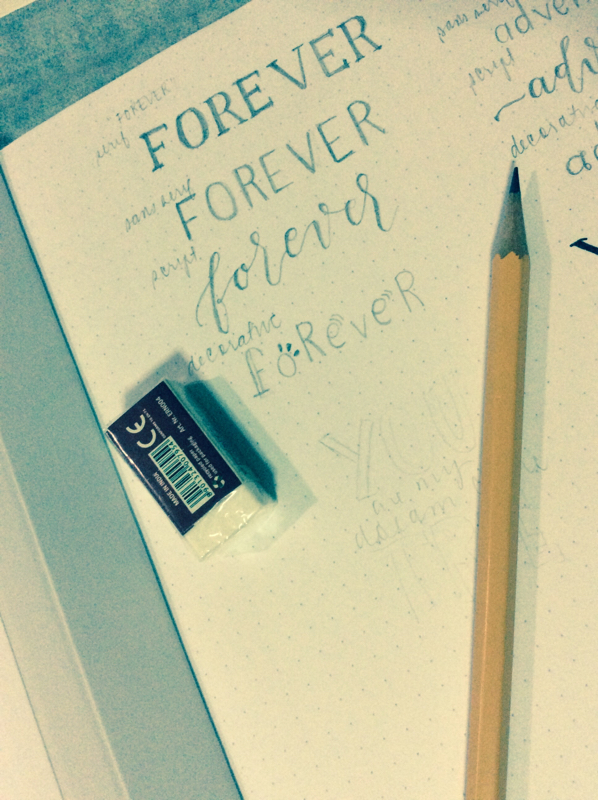 Drill # 1: forever My first try at it wasn't stellar but I began to get a hang of what it means to letter. The process,as Abbey, mentioned isnt just visually artistic it is also scientific. You have to hierarchically categorize the words in a phrase by giving importance to those you want to initially highlight. For the class' final activity I picked the quote: you are my dream come true. I didnt know how i wanted to lay this out but drew inspiration from the books Abbey had. In the end, the final product looked like this. 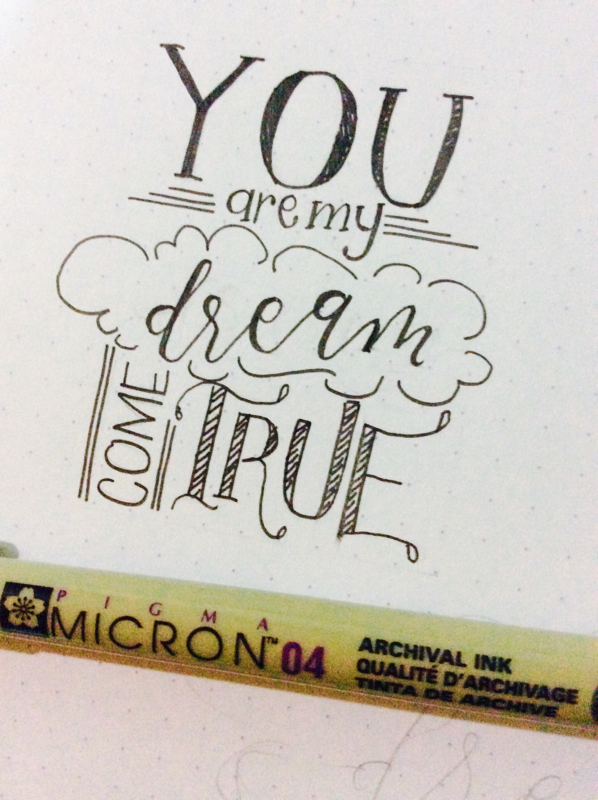 Not bad for a virgin attempt right?? Armed with this new knowledge (and awesome tools) i am looking forward to practicing this newfound skill. 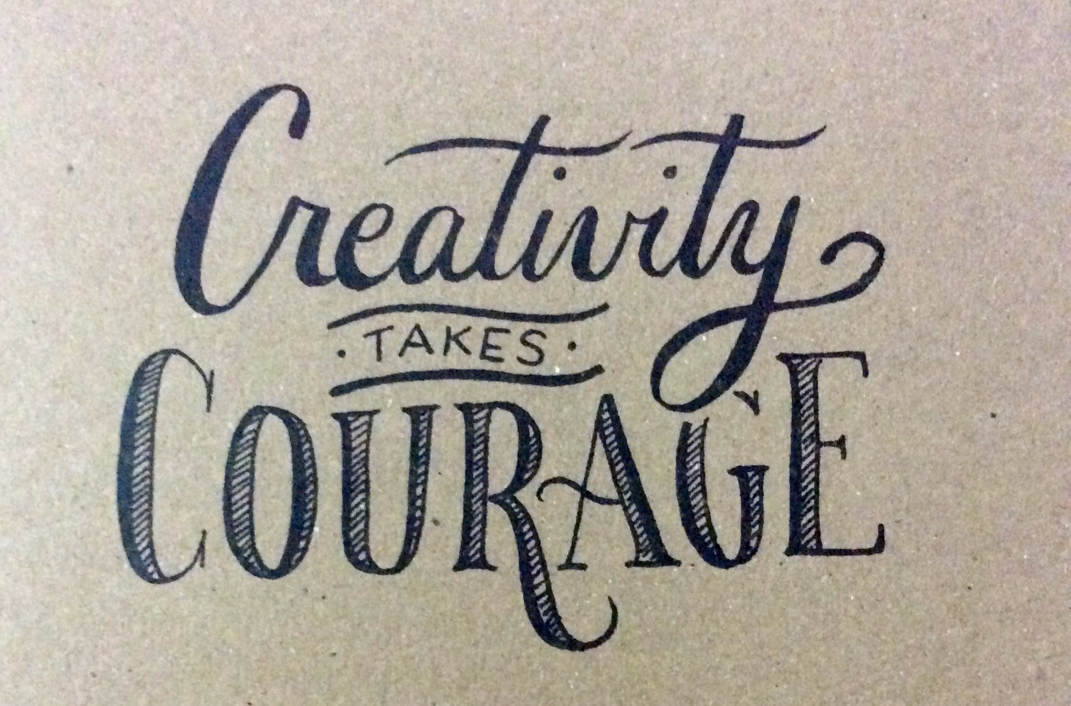 Quote written in front of the notebooks Abbey gave each one of us. So very apt! I have always been fascinated with Astronomy and still remember reading, as a child, Reader's Digest Children's Encyclopedia Books and trying to get to know as much about the starts and planets as my little girl self could. Fast forward to today and my current fascination with water color. Ever since finding the wonder of water color paper -- which incidentally is so hard to find/purchase here in Legazpi--I have been finding out ways to experiment with my present collection of palettes. In turn I always find myself relying on my super-cheap Prang set because I just love how the colors pop even if they've been watered down. This afternoon's art-attack was brought about by mixing these two faves: watercolor + outer space. I made galaxy gift tags-- or at least galaxy inspired gift tags! 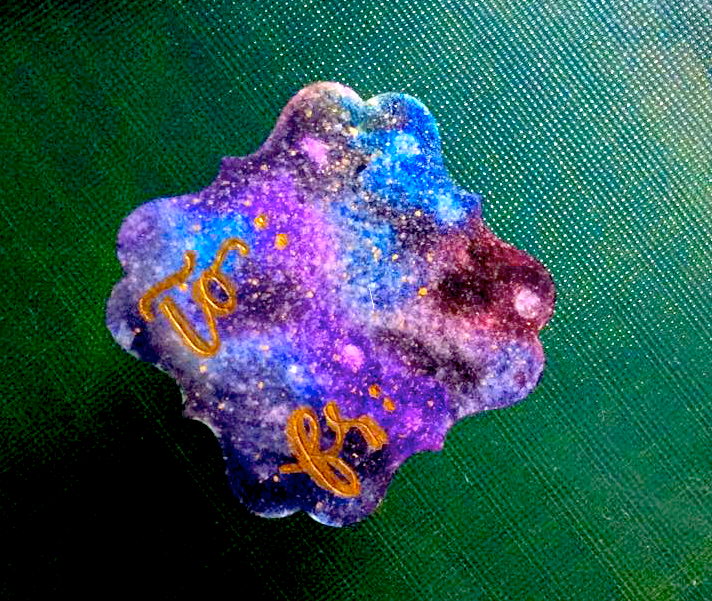 There must be something about Shawarma that has gotten my husband bananas. He loves the stuff, especially the garlic sauce!! Here in the Philippines, we've modified the dish to include our favorite food staple--RICE. Shawarma Rice has become a favorite snack for us here and I will continue to lament the lack of good joints that offer it here in Legazpi Albay. (Especially when the hun is craving!) Luckily I stumbled upon an article written by a childhood classmate, Gela Velasco, that details how you can DIY the dish in the comforts of your own home. Allow me to share this delectable nugget of information with you guys. Pinoy Shawarma RiceYield: 6 servings | Prep: 20 mins | Cooking: 30 mins Ingredients for the Shawarma Rice
|
