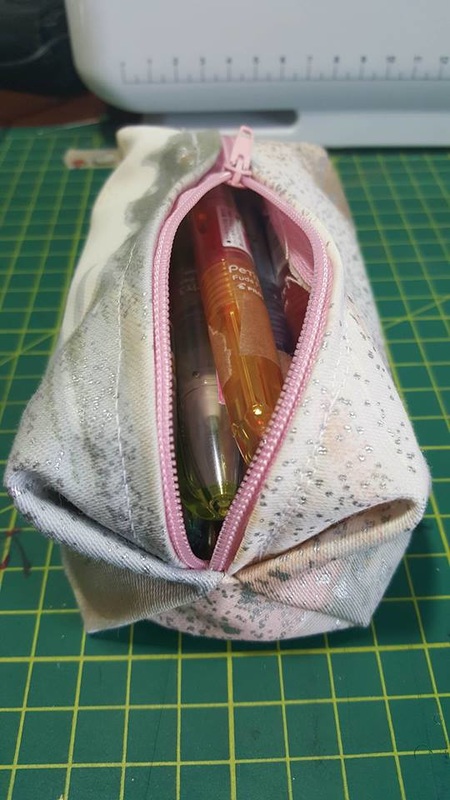
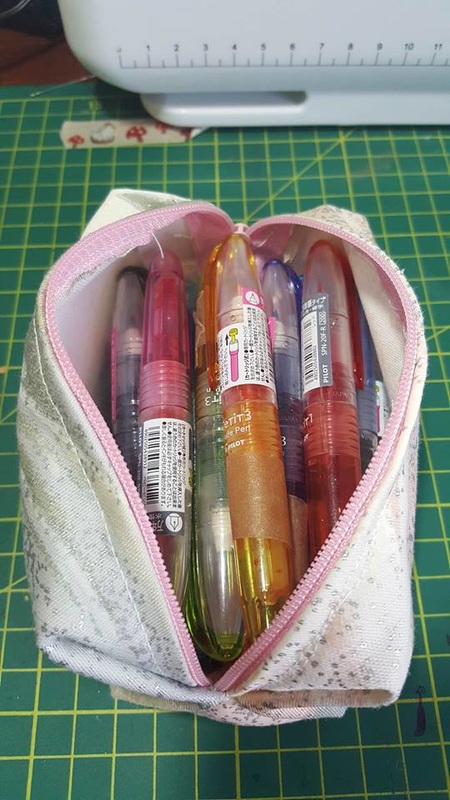
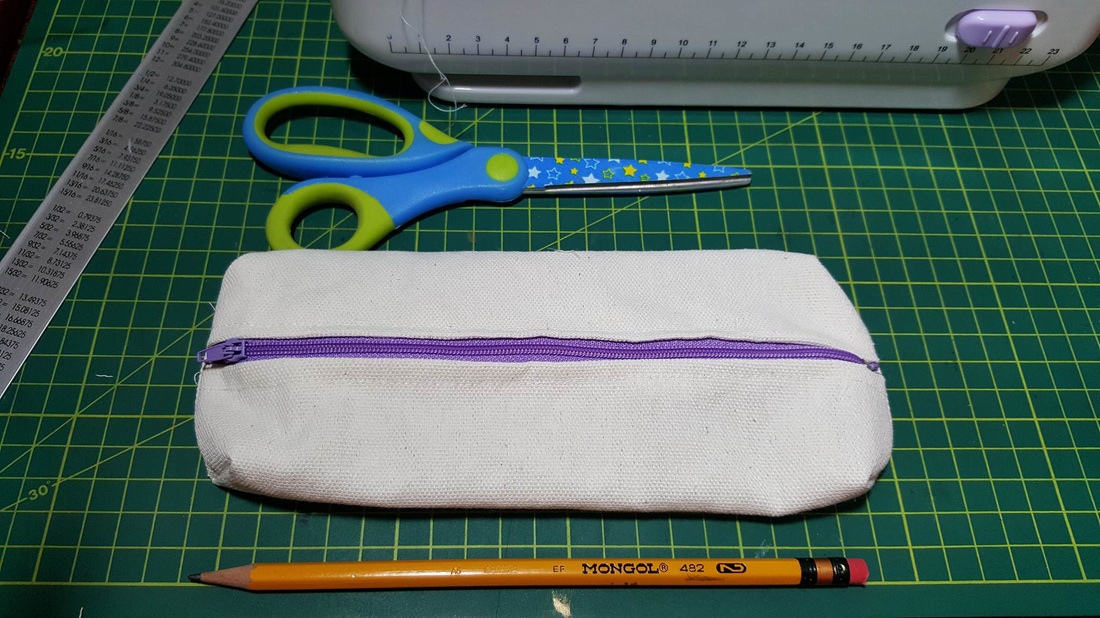
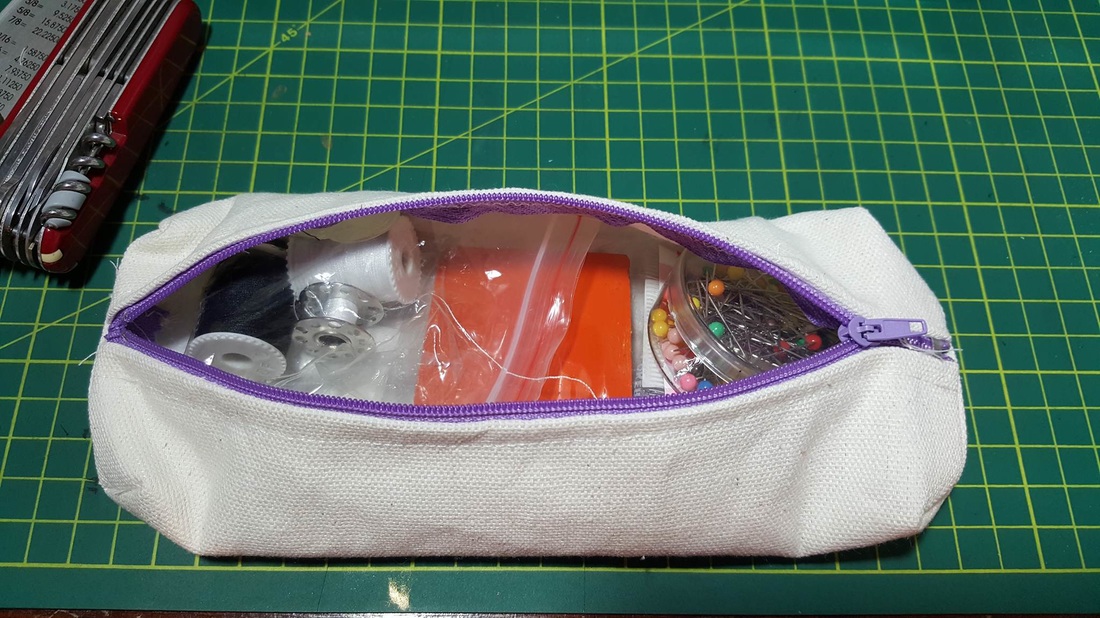
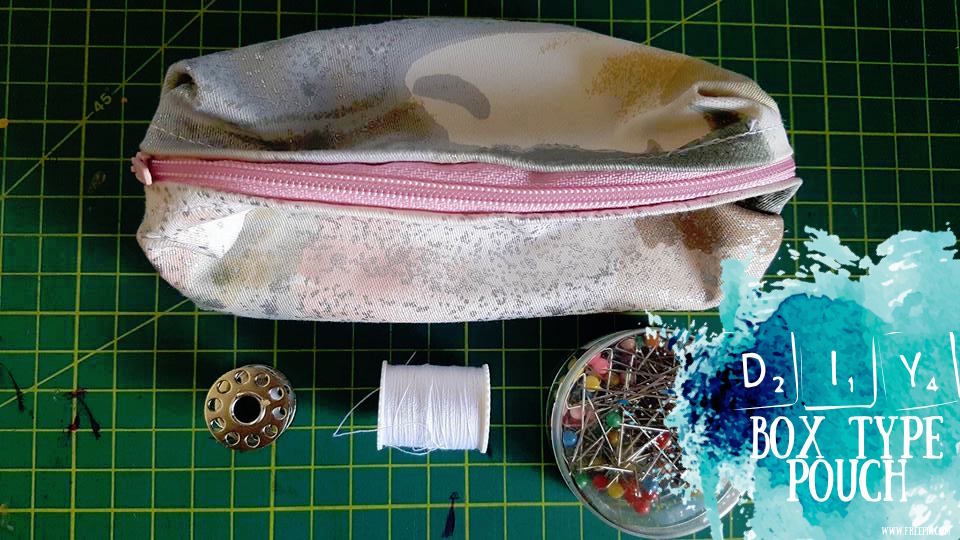
 Ive been bitten by the SEW bug. Once I was able to conquer the pen roll it was a normal transition into zippered pouches. There is a mystique when doing zippered pouches -- at first I thought how hard could it possibly be to stitch in a zipper?? Only to find out it was SIMPLE but not that easy. First things first I needed a zipper foot. Yes to sew in a zipper with your machine you need a separate foot-- it makes it easier for the bulky zipper to glide through. Luckily I was able to find one here for only Php95.00. BUT the zipper foot I bought didnt fit my cheap-ass machine (I did buy it on sale! :) ). Hubby had to file and smooth the connection so that the screw could fit inside. When it finally did, it took some getting used to. Like you have to guide the fabric through the teeth more now, unlike before when the foot would do all the eating. But all-in-all you'd get the hang of it. Again, my box type pencil case came from Youtube inspiration. First off, I didnt have the right zipper. NOTE: DONT BE AMBITIOUS LIKE ME AND STICK WITH NYLON ZIPPERS. I went and bought a metallic one which makes it hard for the needle to pass through. So I had to go buy nylon zippers instead. When you're an expert already thats when you can graduate to metal zippers. But in any case the final product did turn out well. Some craftsmanship flaws that come with being a beginner I think. hihi Like my ends dont match up perfectly. But with practice you'll get better. Malcolm Gladwell said it takes 10,000 hours to become proficient. I've got 9,999 more to go. hahaha The final product ended up smaller than the video I will be posting below simply because my zipper was too small. I had to match it up to the shorter end rather than the longer end of the cloth. At least I end up with a perfect home for my PILOT PETITE PENS both the brush and fude ones. Hope you enjoy DIY-ing as well. I also experimented and did another pencil case out of canvas. Someone suggested to me to do some calligraphy with it so wrote down a quote at the bottom by Van Goethe. Currently I didnt have any fabric pens so busted out my Metallic Sharpie to do the writing for me. This is what I ended up with. :)
0 Comments
 If you're like me you cant ever have too many lists or organizing tools. On a daily basis I probably make 2 to 3 lists and ever since i heard about BULLET JOURNALING this has grown! I have always loved journaling but have never found the patience and fidelity to stick with it every day. Also ever since journalling stars on instagram have been posting their their journal pages I got intimidated. No way could I be that artistic with my notebooks no matter how much I try! And grabe sila complete with stamps, lettering, washi tape and paintings even. For a simple girl like me and who is mostly a DIY art person I didnt think I could give justice to my notebook pages. And good paper quality journals -- like Midori, Hobonichi, etc -- are expensive! Check out some of the JOURNAL QUEENS on IG below. Luckily, I found out about BULLET JOURNAL-ing which is a no fuss way of writing down your thoughts and if you had extra time/space you could decorate. Bullet Journal is a glorified practice of making TO-DO lists -- for an OC person such as myself this is right down my alley. You can read all about it here. All you need is a notebook (preferably graphed), writing instruments and finally your creativity! But if you dont want to make the commitment just yet I'm giving off a free printable. Yes the first of its kind on my blog. Just a simple way of me giving back for all the creativity and inspiration I've gotten from the world wide web. It's a open-dated weekly planner. And if you're going to publish this send me a message or tag me on instagram (@sab_adventures). Just right click on the image and click download then print on bond paper and you're good to go. Enjoy making your list and checking it again, again and again.... :) 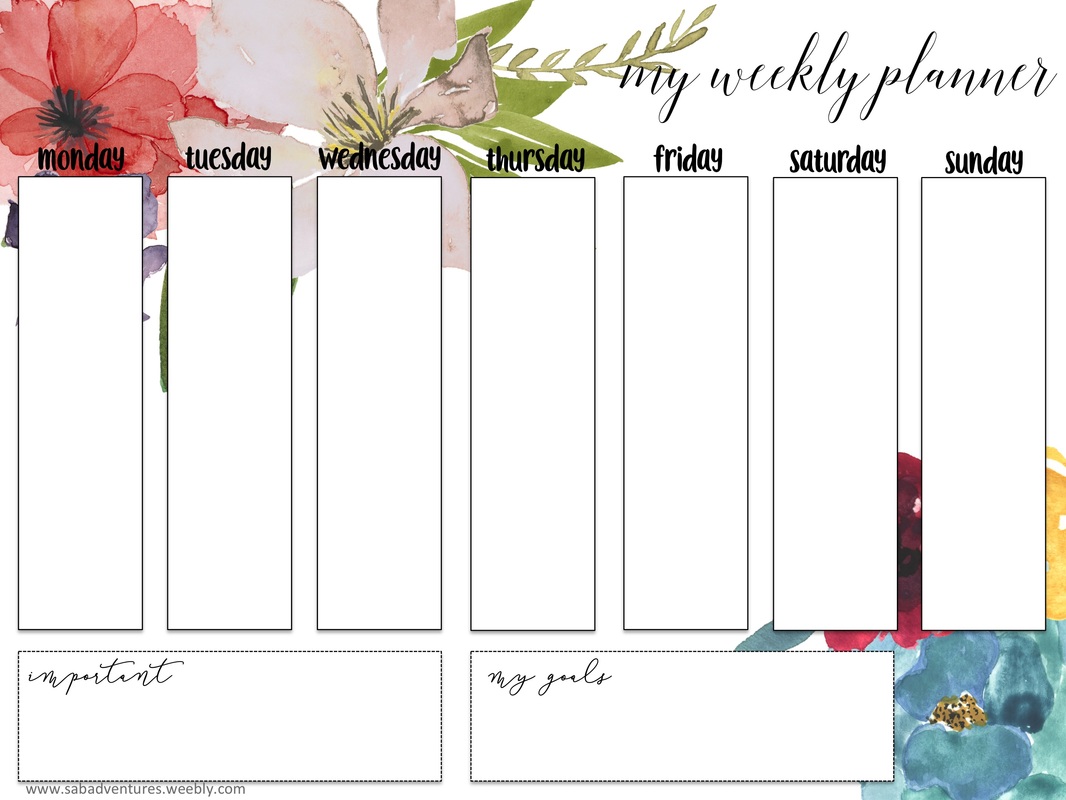 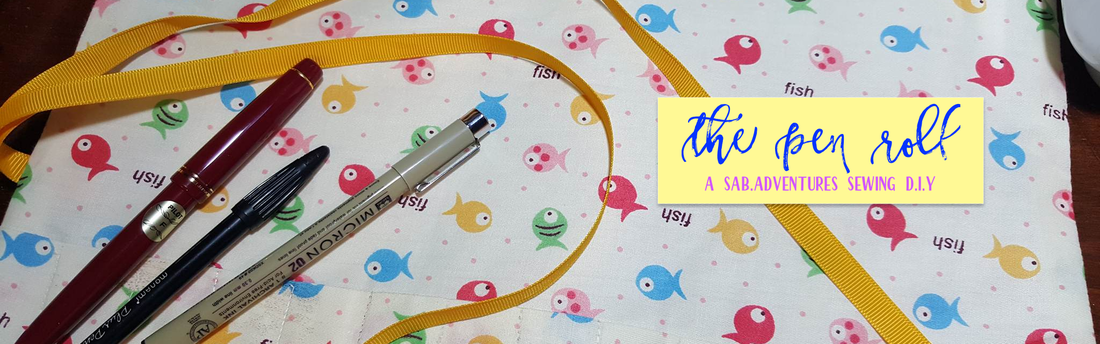 Ever since I got into this writing love affair my ball pen collection has grown tremendously. So much that I currently have 3 pencil cases and an array of cups housing different writing utensils from brush pens to mono-liners to fountain pens. And wait there's more -- my collection is growing every day. As I write this I've got a Pilot Prera on its way as well as a replacement nib for my Lamy Safari Demonstrator that got damaged a few days ago. So the growing concern now is -- where to store my babies?? I didnt want to lug around another pencil case because it was bulky and took so much space in my already cramped hand bag. So I thought why not a pen roll? A pen roll is like a big placemat that has individual sleeves where you can place your pens then after which it is rolled and tied together so everything stays in place. Pen rolls dont come cheap and materials can come in the form of ultra luxe like leather or to the simple but cute cotton prints. I didnt want to spend big buck for another pencil case. So I researched in my number one resource- YOUTUBE- for a way to simplify or DIY a pen roll. Luckily I was able to find a really simple video by CheapbutChic1 (I will link below dont worry!). At first I didnt think I could do it since I have very little experience with sewing crafts. But I remembered that I bought a really cheap electric sewing machine off Lazada last year and it has just been gather dust so far. After watching the video 10 times and convincing myself that I COULD really DIY this, I set out to look for my materials. Luckily, Pacific Gaisano has a simple but complete collection of textiles on the 4th floor. I was able to get this really cute print off their cotton line which is normally used to make PJs. I paid only Php 65 for half a meter of cloth. Additionally I bought yellow ribbon (Php6/meter) and Fell On (Php8.50 for half a meter) to reinforce the cotton and make sure it can withstand the beating of carrying my heavy pens. In totality the materials cost me Php79.50. How can you beat that when pen rolls go for a couple of hundreds in online craft stores! Before posting the Youtube Video I'm going to make a disclaimer -- it doesnt really talk about making a pen roll but more of a make-up brush roll but I thought I could adjust the sizes of the sleeves, follow the same procedure and make my own roll. Also I added photos of my finished product. Look how pretty it is and it took literally very little effort! So before you click play read the few changes I made to customize the make up brush roll into a legit PEN ROLL:
|