|
Every once in a while you gotta get your act together, clean up and rearrange.
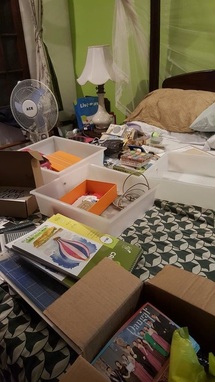
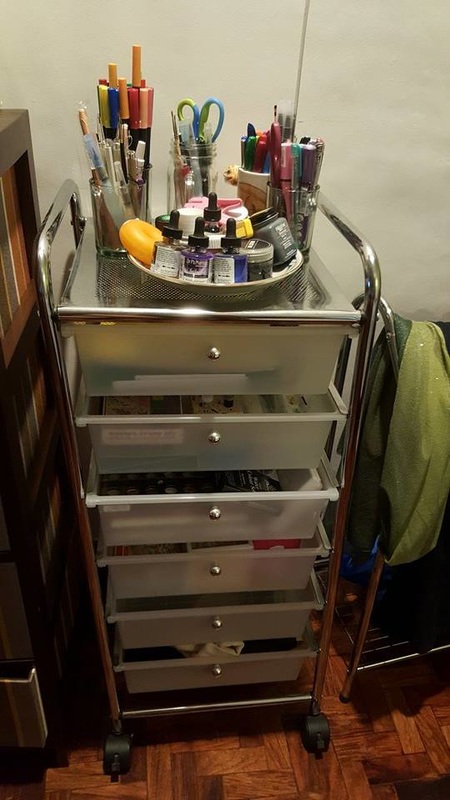
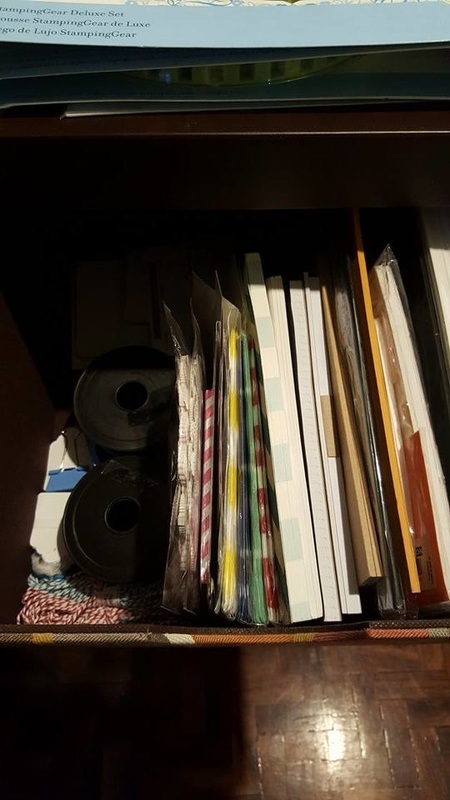
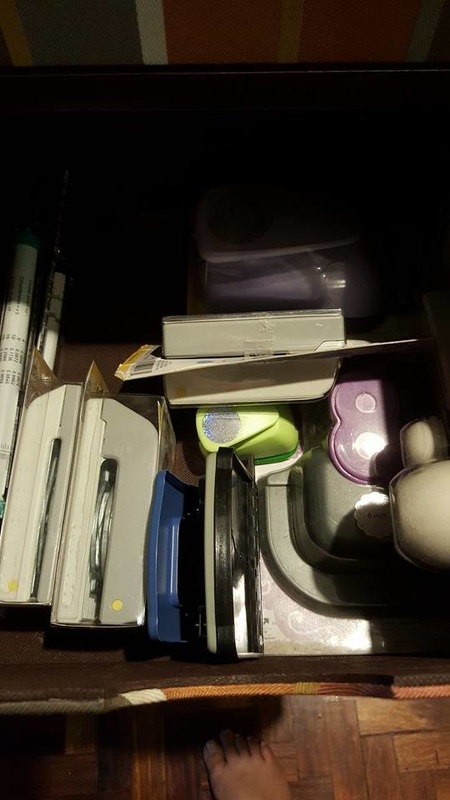
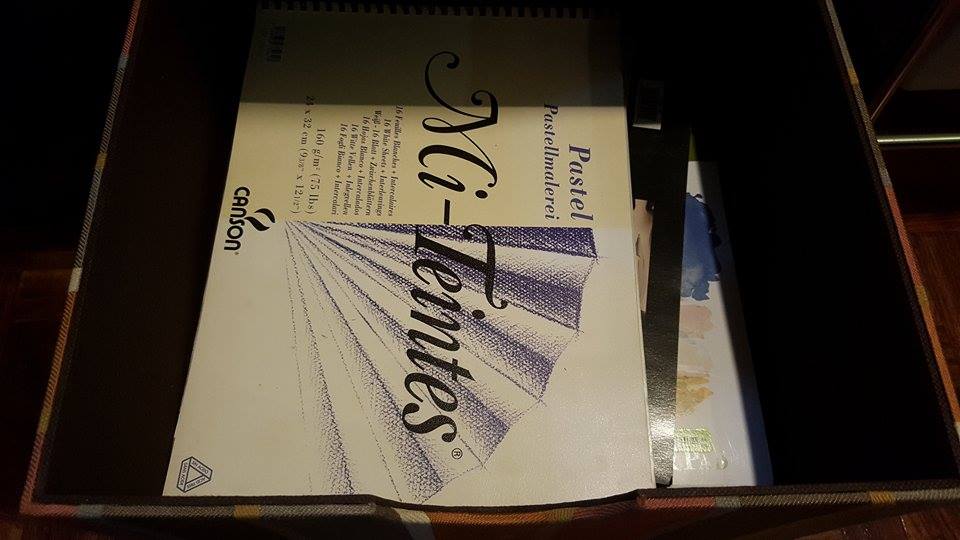
When I start this "creative" journey late last year -- September to be exact-- I didn't have much when it came to equipment. I only had one starter calligraphy kit ordered online via Scribe which consisted of a few nibs, one nib holder, 2 bottles of ink and practice pages. Fastforwarding 9 months later my hoarding skills have kicked in and I've apparently amassed a large amount of "crafting" things such as cutters, punches, inks, paints, pens, paper, doilies, scissors, stamps, etc. My art space has gotten considerably cramped that after a while I was running out of places to store things. I read somewhere that having a disorganized creative space isn't good for inspiration -- a lot of blocks that juices don't flow. Which would probably explain why I have limited my practice as of late to watercolor and brush pens. Taking my nibs out to play would mean so much work because I'd have to look for the inks place them in containers, look for the nibs and place them into holders. Luckily while on a client call yesterday I saw a beautiful yet simple chest of drawers in the local cooperative. The drawers were made of Abaca housed in a wooden frame. Perfect addition to my room because it was small enough that it wouldn't consume so much space yet the right size to house my growing craft things. Also, I had a couple more art supplies arriving and I needed to find a home for them fast!! 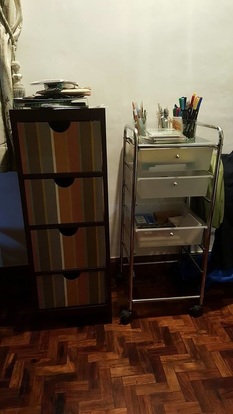 my new storage area: Abaca Drawers & Plastic Drawers Now that I had the drawers, I needed cheap containers to put my pens, pencils, brushes in. The local bargain store (101 Shopping Mall) sold wide mouth glasses for Php12/pc so I bought a set of five. They were the exact size to put my Tombow brush pens, brushes, chalk markers, Sharpie pens, gel pens etc in. (Yes A LOT OF PENS!) My mom also gave me a few plates from a Japan Surplus Store which now displays my most often used inks and paints. Each drawer has now be categorized to hold the following art supplies:
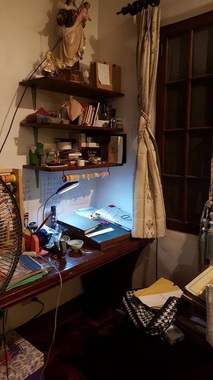
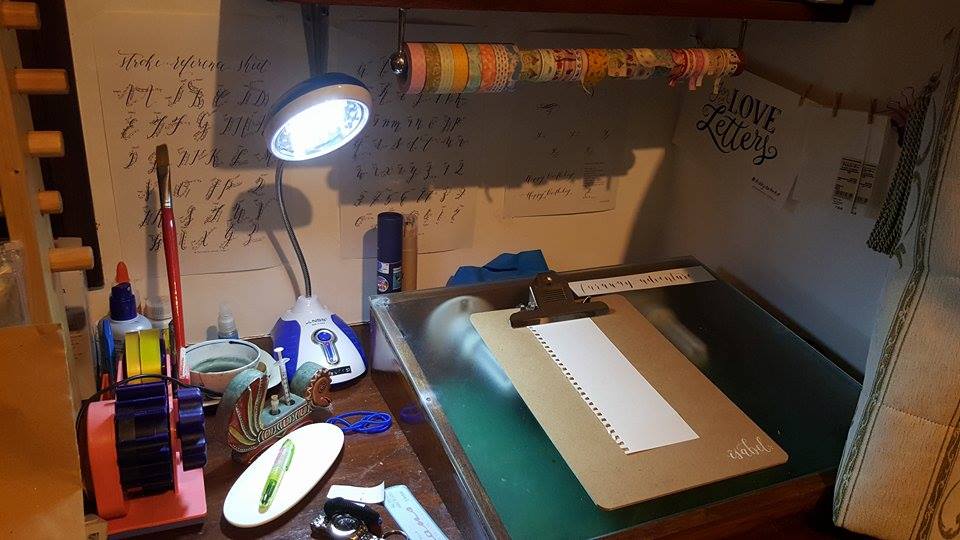
Now that all my "weapons of art destruction" have been properly put in their places, my table is in a much better place. Perhaps this will lead to more inspired pieces. I even, for added inspiration, hung Abbey Sy's work in a prominent place to remind me that creating is a process. Here's a final look at my little ART NOOK.
0 Comments
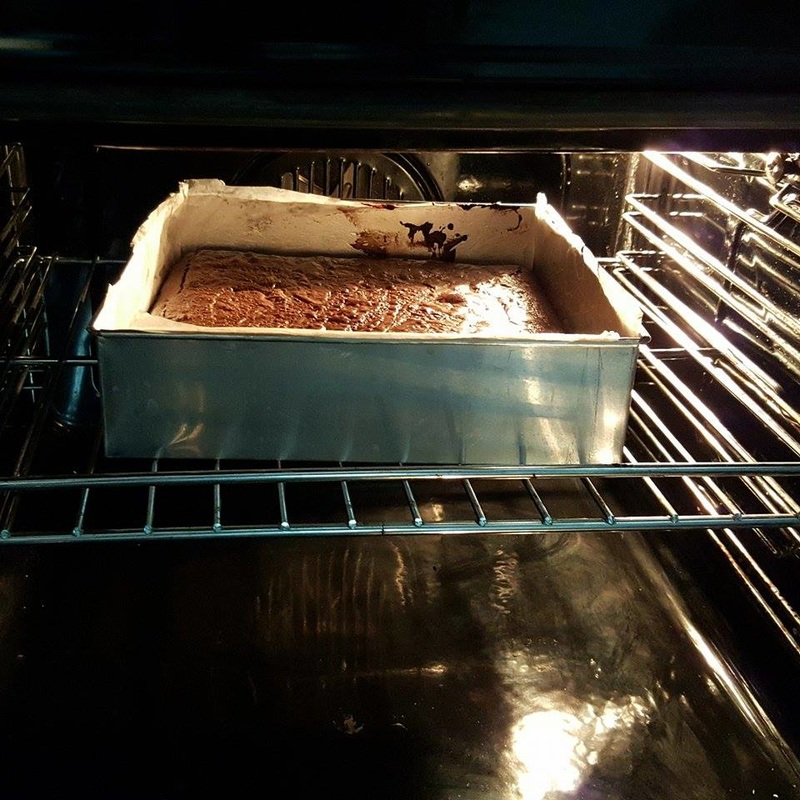
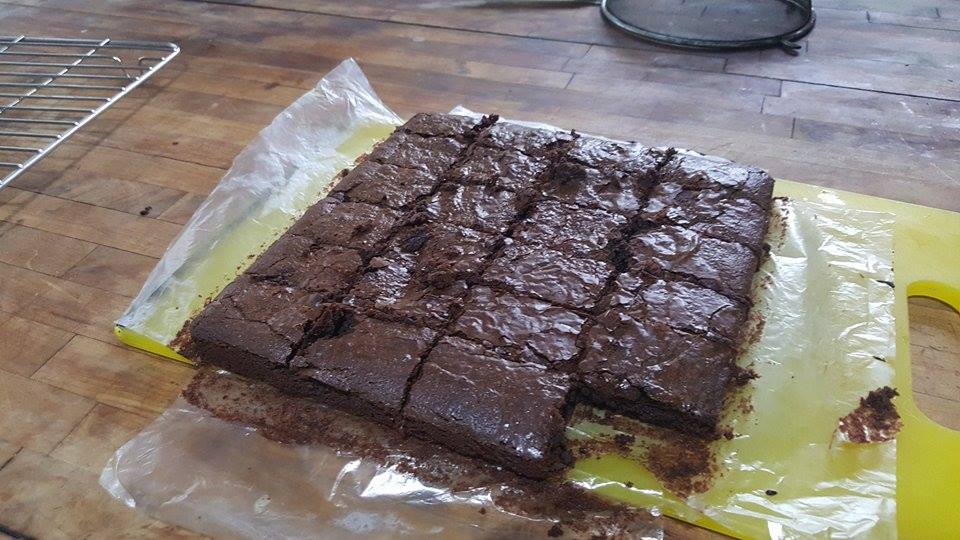
I must warn you the recipe I will write below will blow your minds and belt buckles  I have always loved brownies -- they're like bite size pieces of chocolate heaven. They're relatively easy to make with only a few ingredients that will satisfy any uber-hungy chocobrownie deamon you have in your tummy (or in my case: home). You can make them different in many ways -- add nuts, caramel sauce, ganache, etc -- but the base remains the same: proportionate quantities of chocolate, butter, sugar, eggs and flour. I've recently found out that the secret to extremely gooey brownies is to under-bake them. Yes you heard me right, take them out earlier than expected from the oven. This leaves the outer layers crisp but the inside remains soft and moist. PERFECT COMBINATION, I say! So without further adieu here is my recipe for the month of June: SUPER GOOEY FUDGY MUSHY CENTER BROWNIES:
Sorry I've been MIA for the past few days. Hubby and I have just gotten back from our first ever JCI Asia Pacific Conference (ASPAC).  the Philippine Delegation: 135+ strong The JCI ASPAC is a conference of all JCI organizations in the Asia Pacific Region. Final tally of the hosting organization (JCI Malaysia) approximated a total of 3,200 registrants attending the 5 day festivities in Kota Kinabalu. Hubby and I have never been to KK and despite the earthquake early in the month we packed our bags for the flight. Another incentive is that JCI Legazpi had 4 bids for the ASPAC Awards while JCI Daraga (my chapter) had 1 for Project Liwanag: a baby project of mine which started in 2013. Aside from JCI activities, we also decided to see what this side of Malaysia had to offer Sabah Island after all used to belong to the Philippines. 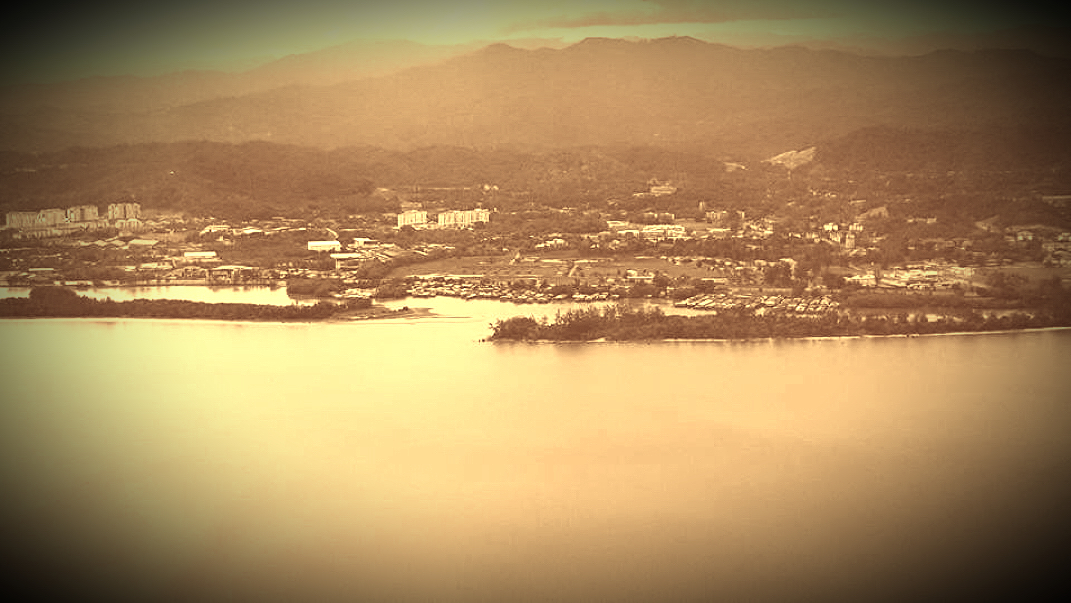 View from our Air Asia Flight Highlights of our Trip:
Now that I have more time on my hands time to experiment with Mr. Holbein I decided to play around with my holbein watercolor and spare watercolor paper. You have to understand I am no expert in using paint and find the medium very finicky. But lately it seems like the two of us are agreeing more. For my first try, I decided to decorate my name. Just a simple art attack project since there are only 6 letters. So this is where I had my Macgyver moment. I didn't want to waste paper printing "isabel" in a serif font just so i could trace it out on the watercolor paper. Instead I busted out my iPad and using Pages wrote down my name in the biggest size available. After which I screen captured the page and placed the screen contrast on the brightest setting. Tadah a very resourceful lightbox and totally environmentally friendly. Here is the finished product: 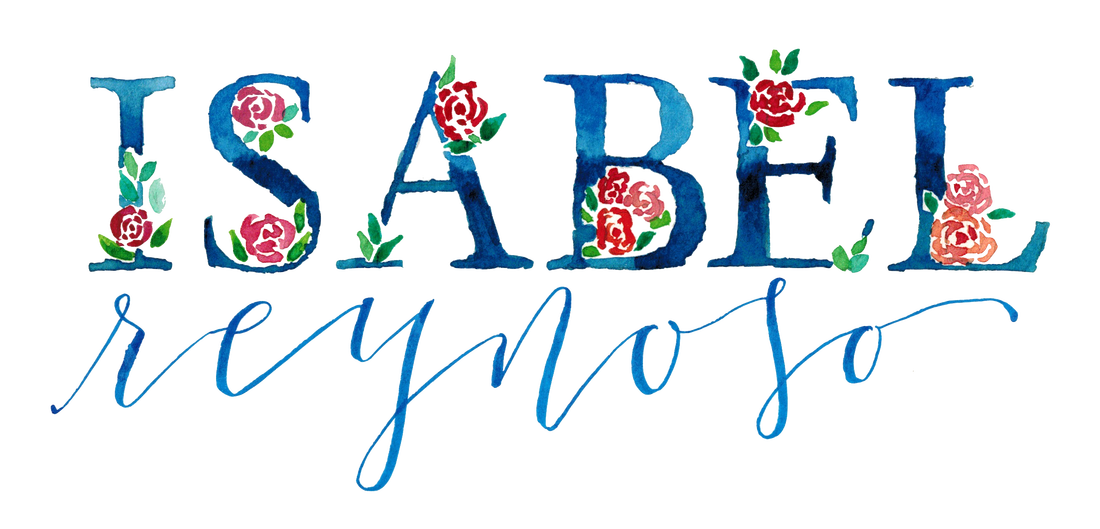 Since I needed to practice my "flower" technique that was what I used as decoration for this piece. I also went ombre with the blue slowly graduating from my royal to navy blue. As a final touch I busted out my Pilot Petite brush pen and calligraphed my last name. What do you think? :) Of course I didn't stop there since I was on a roll. Coupled to this was the overwhelming comments, likes and support I was getting on FB and IG. So I decided to do a few more pieces based on request. These are what I ended up with. Maybe, with the huge success these are getting on IG and FB I can begin taking on commissioned work. haha Maybe, just maybe.
|