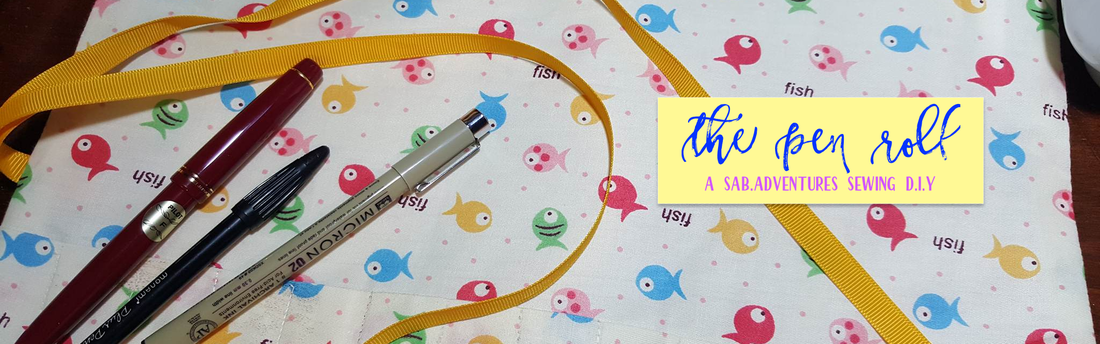
 Ever since I got into this writing love affair my ball pen collection has grown tremendously. So much that I currently have 3 pencil cases and an array of cups housing different writing utensils from brush pens to mono-liners to fountain pens. And wait there's more -- my collection is growing every day. As I write this I've got a Pilot Prera on its way as well as a replacement nib for my Lamy Safari Demonstrator that got damaged a few days ago. So the growing concern now is -- where to store my babies?? I didnt want to lug around another pencil case because it was bulky and took so much space in my already cramped hand bag. So I thought why not a pen roll? A pen roll is like a big placemat that has individual sleeves where you can place your pens then after which it is rolled and tied together so everything stays in place. Pen rolls dont come cheap and materials can come in the form of ultra luxe like leather or to the simple but cute cotton prints. I didnt want to spend big buck for another pencil case. So I researched in my number one resource- YOUTUBE- for a way to simplify or DIY a pen roll. Luckily I was able to find a really simple video by CheapbutChic1 (I will link below dont worry!). At first I didnt think I could do it since I have very little experience with sewing crafts. But I remembered that I bought a really cheap electric sewing machine off Lazada last year and it has just been gather dust so far. After watching the video 10 times and convincing myself that I COULD really DIY this, I set out to look for my materials. Luckily, Pacific Gaisano has a simple but complete collection of textiles on the 4th floor. I was able to get this really cute print off their cotton line which is normally used to make PJs. I paid only Php 65 for half a meter of cloth. Additionally I bought yellow ribbon (Php6/meter) and Fell On (Php8.50 for half a meter) to reinforce the cotton and make sure it can withstand the beating of carrying my heavy pens. In totality the materials cost me Php79.50. How can you beat that when pen rolls go for a couple of hundreds in online craft stores! Before posting the Youtube Video I'm going to make a disclaimer -- it doesnt really talk about making a pen roll but more of a make-up brush roll but I thought I could adjust the sizes of the sleeves, follow the same procedure and make my own roll. Also I added photos of my finished product. Look how pretty it is and it took literally very little effort! So before you click play read the few changes I made to customize the make up brush roll into a legit PEN ROLL:
0 Comments
An afternoon of art, craft, good food and learning something new 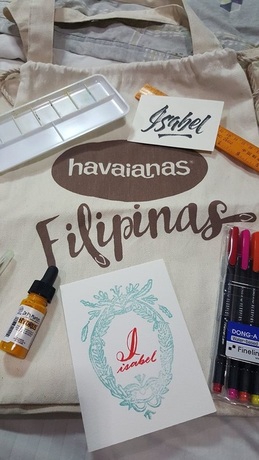 Attending this seminar by Havaianas was touch and go because of our schedule. Of course I begged, cajoled and blackmailed the hubby just so I could attend. And after some reluctance, we moved our business commitments around so that I could be in Manila for the December 6 workshop. Truth be told Havaianas and I have a love-hate relationship. Whenever I buy a pair then dont last very long -- only because my dogs seem to think of them as really excellent chew toys. So when the opportunity to present itself to attend an art workshop by this brand I was a bit hesitant. It also didnt help that the registration fee was quite steep. But I reasoned that paying the Php 6,500 price tag it was actually a steal considering the seminar kit had a lot of the brands I use and yet dont have and also it was for THREE workshops discussing different topics each. All three were held in the Hillside Cafe situated along Mo. Ignacia Avenue in Quezon City. This isnt a place I frequent, even when I was living in Manila so it was an urban adventure for hubby and I that sunday. What a great opportunity that the cafe was right beside a gardening center that had everything you could possibly need when starting your own green house (something I've been wanting to get my hands on) such as seeds, roofing material, growth supplements and the like. So while waiting for the workshop to start, Hubby and I went crazy over all the gardening things we could get our hands on -- we bought a lot of seed packets!! By 1PM students began piling in the cafe to get ready for the first of three workshops which was LETTERING BY ABBEY SY (IG @abbeysy). Although not my first seminar by her this time around felt like I was able to grasp the concepts better since I've been practicing on my own lettering style. The class was a more condensed version of the one I first attended, nonetheless it was also a learning experience especially since #FaberCastellPhilippines gave a free set of PITT pens that we readily used in our foray into lettering. I didnt know time could go by so fast, after 1 hour the Lettering class was finished! In conclusion, I have a deeper appreciation now for all the posters and advertising materials I see around -- there was a lot of thought placed into what font, position or color to use in order to catch your attention! Someday I hope to make my own Lettering pieces of art. The second class was a Watercolor Seminar by Alessa Lanot (IG @lifeafterbreakfast) who incidentally is also the owner of Hillside Cafe. In all honesty, watercolor is not my forte. The only reason I dabbled in it is because of Imma and seeing all the Pinterest Craft pins on my feed. I have had no formal training in this medium (something I will say over and over again) but I love how it works. So I was pleasantly surprised and very excited when Alessa mentioned that this was her area of expertise and something she has been doing for more than a decade! If there is anything I will not forget form this afternoon of art is the concept of TEA, MILK & CREAM -- various mixes of water and pigment to create a difference in your painting. TEA is a mix of mostly water and very little pigment-- exactly how tea looks. MILK is 50% water and 50% pigment. Meanwhile CREAM is primarily pigment. Learning how to utilize these three mixes in order to sketch and finally color your end project was an eye opener. The class output was a family crest and this is what I made: 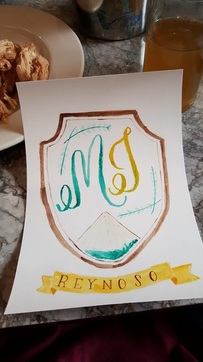 The shape of the shield resembles the JCI shield -- an organization we are both very much active in. The letters M & I represent our names. The mountain at the bottom is supposed to be Mayon Volcano -- the premier tourist attraction where we live. Finally the banner at the bottom spells out our family name - Reynoso. The final seminar was FLOURISHING By Patrick Cabral (IG @DarkGravity) and was the one I was most excited to attend. You see flourishing has always intrigued me -- how can some calligraphers create such intricate designs with swirls and circles? Although I was not able to finish the entire seminar -- I had to leave earlier to go to another engagement -- I was able to pick up some tips in creating my own flourished beauties. 1. SYMMETRY - if you flourish on the left you must do so on the right, same goes with the top and bottom to create some symmetry in your design. 2. PICK WHAT LETTER YOU WANT TO EMPHASIZE - not all letters are made to be flourished. Some are easier to add flourished to than others such as L, N, S, & T. Remember to not go overboard though! 3. EXPERIMENT- there are no set rules on how to flourish so dont be afraid to experiment with the swirls and circles 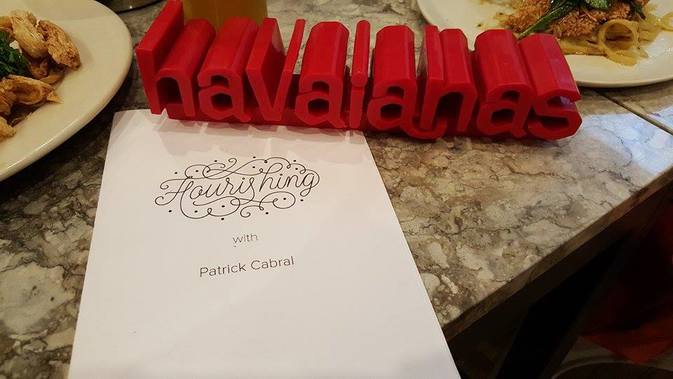 In conclusion, I had an awesome afternoon! Leaving the seminar, I had an entire canvass bag filled to the brim with freebies such as artist-grade watercolor paper, book by Summit Media and the materials included in the seminar kit that had items such as Zig Real Brush, Dr. Ph Martins Hydrus Watercolor ( 3 Bottles), Dong-A Hexaplus Pen Set, CraftDoodle Water Brush, Stabilo pens and more! And finally the best surprise, all participants got to take home a pair of the Limited Edition Filipinas Slipper designed by the 3 Workshop Facilitators!! Yes guys a free pair of Havaianas Slippers!!!!!!! I was such a giddy teenager that I couldnt wait to wear my pair right away. And I did -- during the car ride home. 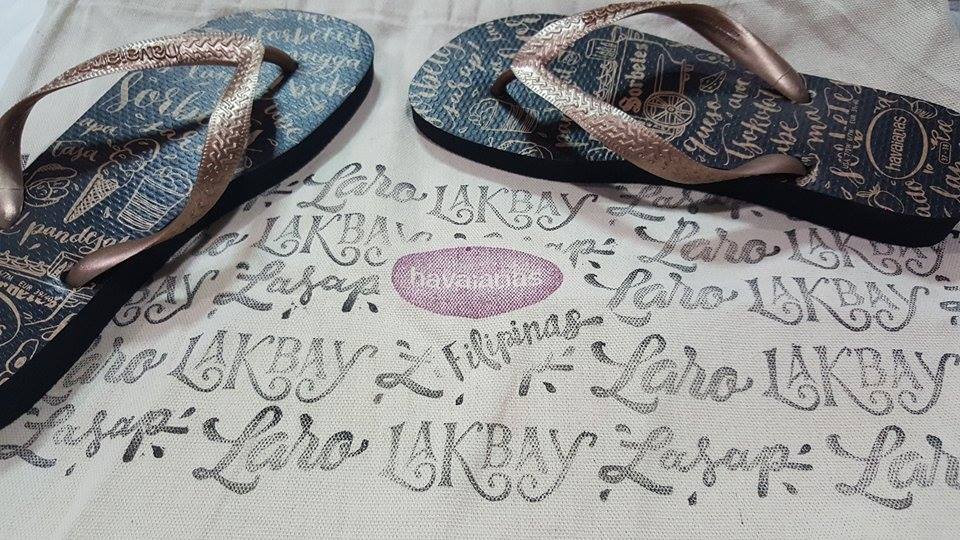 So yes, I was quite the happy camper bringing home not just the workshop goodies but also a free pair of LIMITED EDITION Havaianas Slippers. What more can you ask for?
Crafting obsession realized. And yes, my wallet hates me.
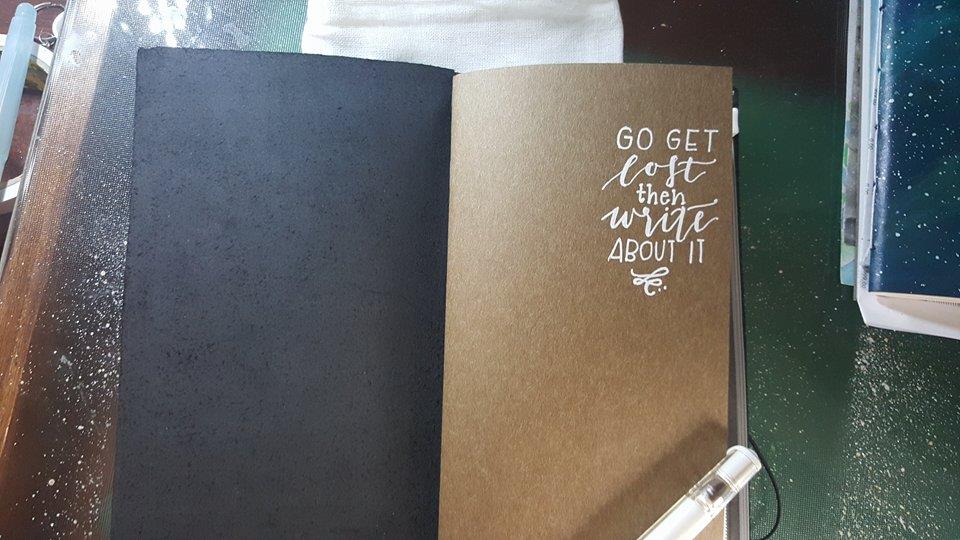
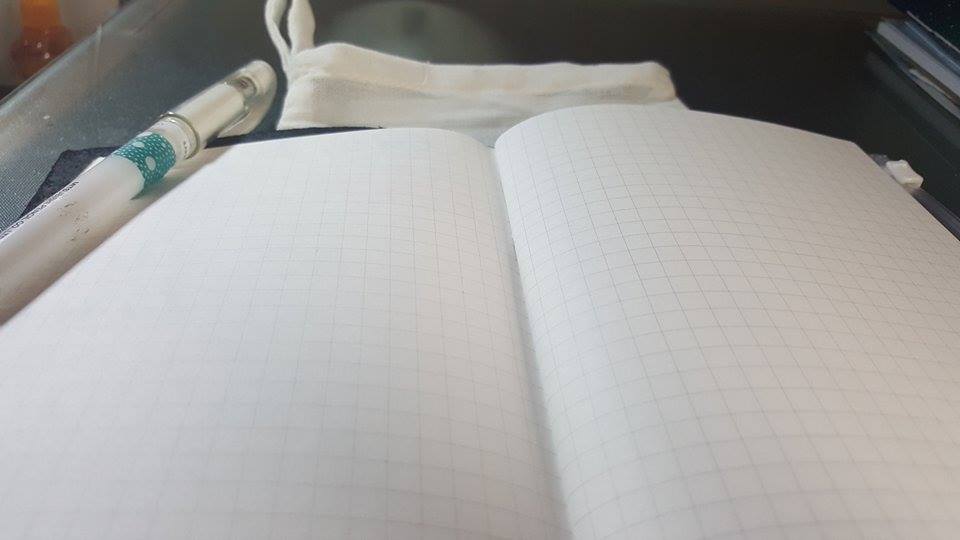
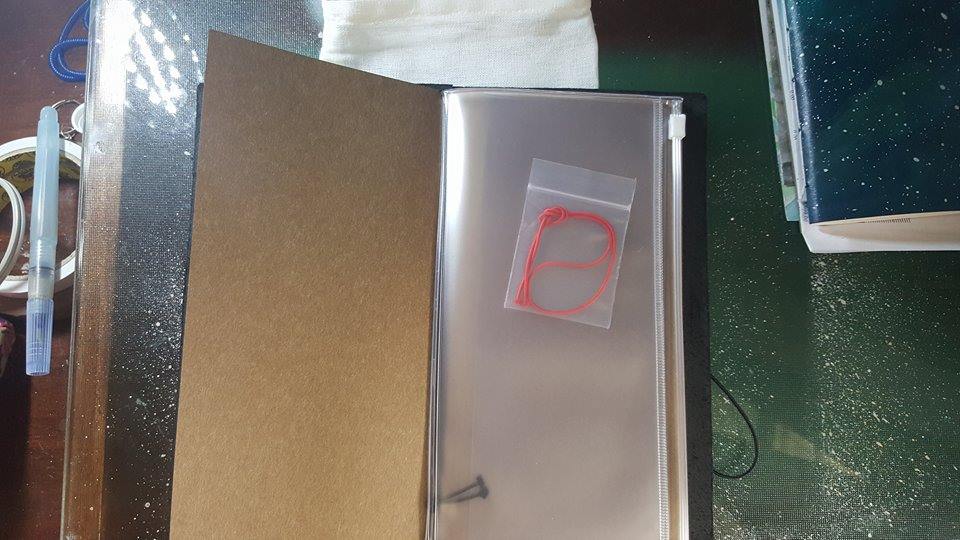
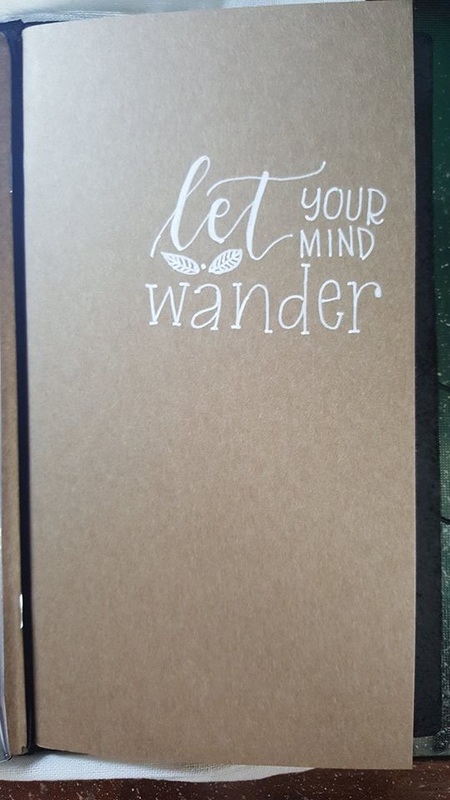
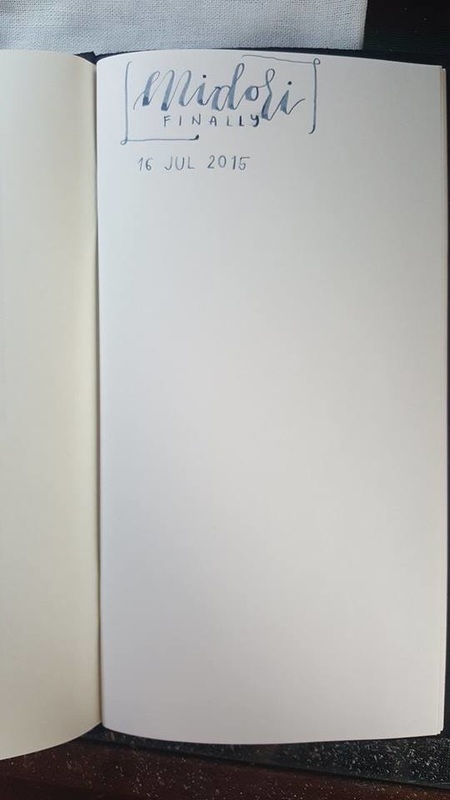
I have always had a crafting obsession. As a kid I would collect stamps, guard steadily my Crayola stamp markers and use sparingly my 180+ crayon set. This habit of mine has continued to accompany me as I grew up and my wish list would change to suite whatever I fancied then -- metallic pens in high school, journal notebooks in college, reliable blue ballpen during the corporate phase, etc. Nowadays my Craft Wishlist has revolved around my Calligraphy hobby --- it includes anything that will make my writing pretty and stand out. So this collection has included iridescent inks (love you Dr. Martin's!), flexible nibs (I am loving the leonardt line up), colorful brush pens (Kuretake, Pilot and Tombow are my go-to brands) and different cutters or punches -- you can read about the great craft re-organization here. But for the quite some time I have been lusting over the Midori Traveller's Notebook that I dedicated a blog post about it -- read here. After hemming and hawing I finally caved and bought for myself a black regular sized TN from Scribe Writing Essentials. This gloriously luxurious purchase of mine felt like such a reward that after taking it out of the box I found myself just staring at it for a few minutes. The paper is my biggest come on -- it's light and smooth and can take any kind of ink i throw at it WITHOUT BLEEDING. Yes you head me right it does NOT bleed. I've used brush pen ink, acrylic ink, watercolor and calligraphy. The paper just eats it up like it was nothing. 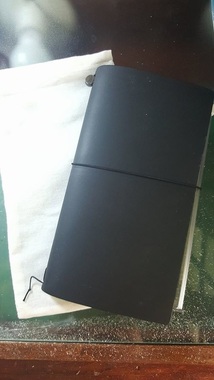 my pretty black Midori Traveller's Notebook Thus far I have only written in a few pages but find doing so such a relaxing experience. I don't need to worry if my nib will snag the pages, if the ink will blur, etc. For the front pages I even decorated them with little sayings using white ink just for added inspiration upon opening the leather cover. I am looking forward to filling this notebook -- and it's refills-- with my thoughts and even considering making it a true TRAVELLER'S NOTEBOOK when I leave for my adventure this September. (I'll keep you guys updated regarding this, sketching might prove to much of a commitment while on the road and I might just get frustrated trying.) So here's a peek of what my Midori looks like these days. I might shuffle up the inserts after a while. That's the beauty of this notebook it's totally customizable that you can change the insert arrangements whenever, wherever, however you want it. I totally recommend this for notebook and writing aficionados such as myself. You will not regret! |