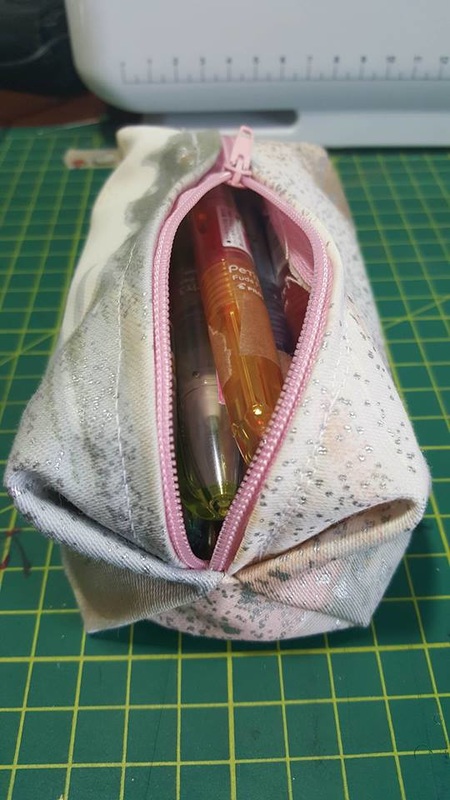
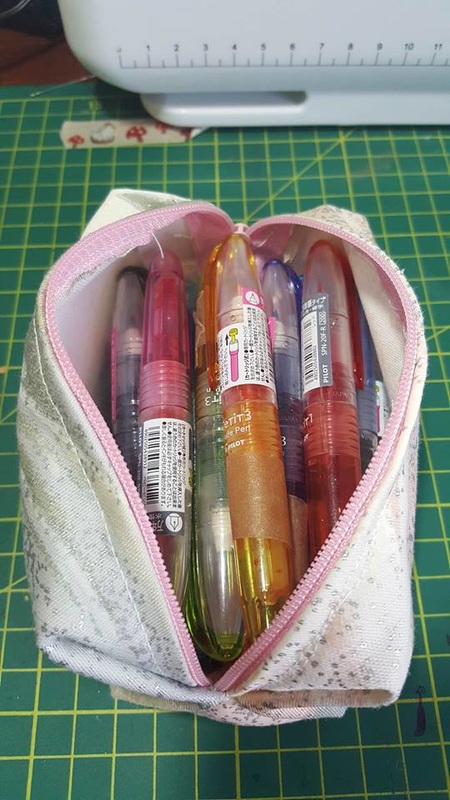
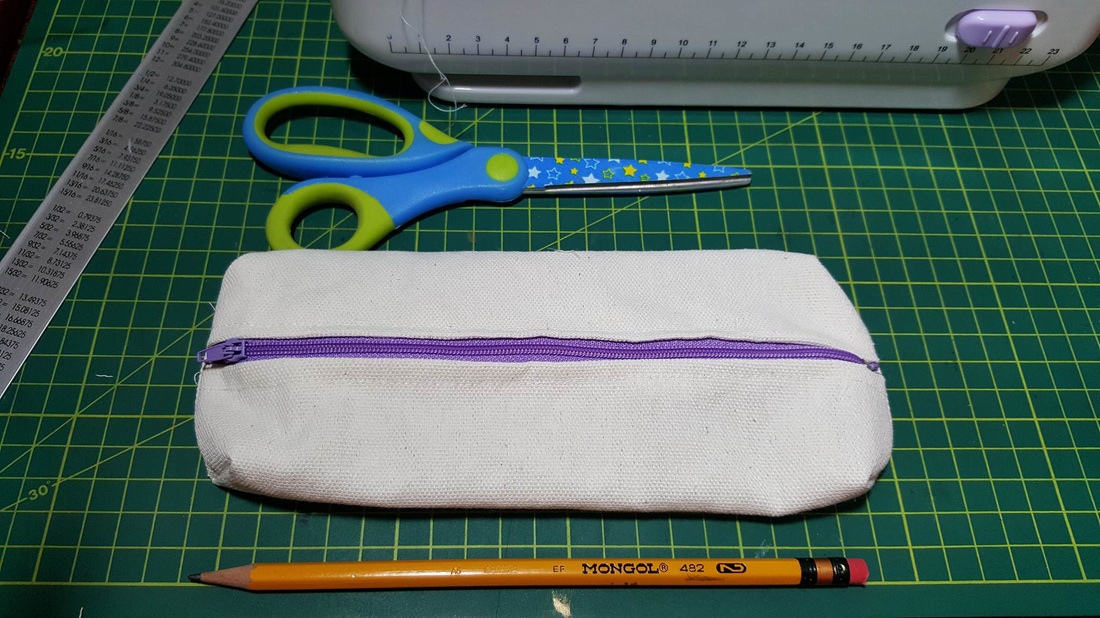
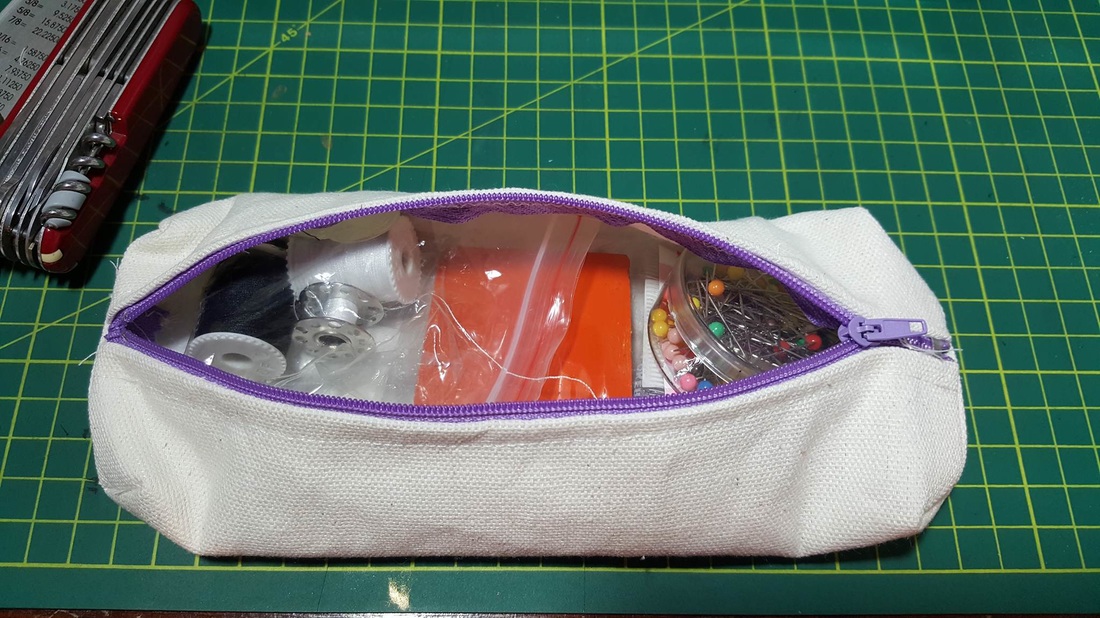
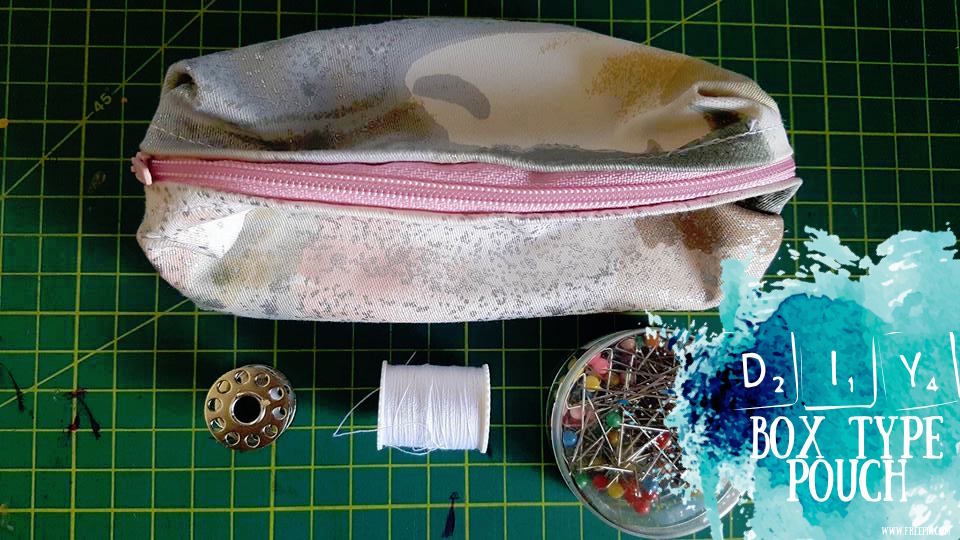
 Ive been bitten by the SEW bug. Once I was able to conquer the pen roll it was a normal transition into zippered pouches. There is a mystique when doing zippered pouches -- at first I thought how hard could it possibly be to stitch in a zipper?? Only to find out it was SIMPLE but not that easy. First things first I needed a zipper foot. Yes to sew in a zipper with your machine you need a separate foot-- it makes it easier for the bulky zipper to glide through. Luckily I was able to find one here for only Php95.00. BUT the zipper foot I bought didnt fit my cheap-ass machine (I did buy it on sale! :) ). Hubby had to file and smooth the connection so that the screw could fit inside. When it finally did, it took some getting used to. Like you have to guide the fabric through the teeth more now, unlike before when the foot would do all the eating. But all-in-all you'd get the hang of it. Again, my box type pencil case came from Youtube inspiration. First off, I didnt have the right zipper. NOTE: DONT BE AMBITIOUS LIKE ME AND STICK WITH NYLON ZIPPERS. I went and bought a metallic one which makes it hard for the needle to pass through. So I had to go buy nylon zippers instead. When you're an expert already thats when you can graduate to metal zippers. But in any case the final product did turn out well. Some craftsmanship flaws that come with being a beginner I think. hihi Like my ends dont match up perfectly. But with practice you'll get better. Malcolm Gladwell said it takes 10,000 hours to become proficient. I've got 9,999 more to go. hahaha The final product ended up smaller than the video I will be posting below simply because my zipper was too small. I had to match it up to the shorter end rather than the longer end of the cloth. At least I end up with a perfect home for my PILOT PETITE PENS both the brush and fude ones. Hope you enjoy DIY-ing as well. I also experimented and did another pencil case out of canvas. Someone suggested to me to do some calligraphy with it so wrote down a quote at the bottom by Van Goethe. Currently I didnt have any fabric pens so busted out my Metallic Sharpie to do the writing for me. This is what I ended up with. :)
0 Comments
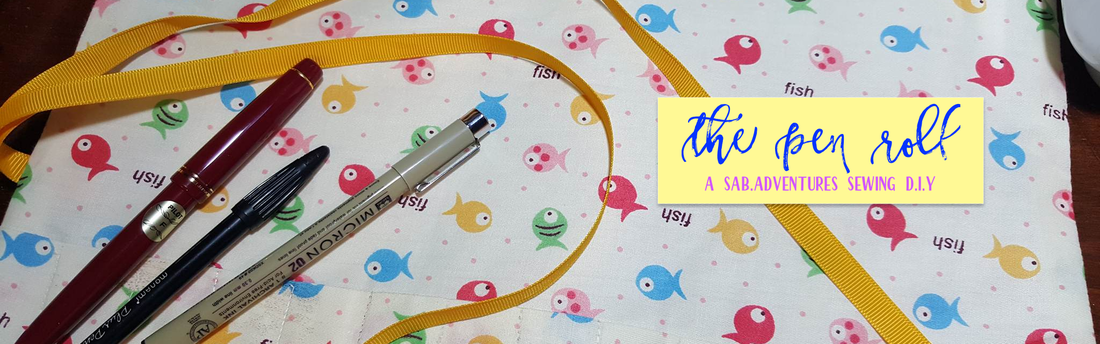 Ever since I got into this writing love affair my ball pen collection has grown tremendously. So much that I currently have 3 pencil cases and an array of cups housing different writing utensils from brush pens to mono-liners to fountain pens. And wait there's more -- my collection is growing every day. As I write this I've got a Pilot Prera on its way as well as a replacement nib for my Lamy Safari Demonstrator that got damaged a few days ago. So the growing concern now is -- where to store my babies?? I didnt want to lug around another pencil case because it was bulky and took so much space in my already cramped hand bag. So I thought why not a pen roll? A pen roll is like a big placemat that has individual sleeves where you can place your pens then after which it is rolled and tied together so everything stays in place. Pen rolls dont come cheap and materials can come in the form of ultra luxe like leather or to the simple but cute cotton prints. I didnt want to spend big buck for another pencil case. So I researched in my number one resource- YOUTUBE- for a way to simplify or DIY a pen roll. Luckily I was able to find a really simple video by CheapbutChic1 (I will link below dont worry!). At first I didnt think I could do it since I have very little experience with sewing crafts. But I remembered that I bought a really cheap electric sewing machine off Lazada last year and it has just been gather dust so far. After watching the video 10 times and convincing myself that I COULD really DIY this, I set out to look for my materials. Luckily, Pacific Gaisano has a simple but complete collection of textiles on the 4th floor. I was able to get this really cute print off their cotton line which is normally used to make PJs. I paid only Php 65 for half a meter of cloth. Additionally I bought yellow ribbon (Php6/meter) and Fell On (Php8.50 for half a meter) to reinforce the cotton and make sure it can withstand the beating of carrying my heavy pens. In totality the materials cost me Php79.50. How can you beat that when pen rolls go for a couple of hundreds in online craft stores! Before posting the Youtube Video I'm going to make a disclaimer -- it doesnt really talk about making a pen roll but more of a make-up brush roll but I thought I could adjust the sizes of the sleeves, follow the same procedure and make my own roll. Also I added photos of my finished product. Look how pretty it is and it took literally very little effort! So before you click play read the few changes I made to customize the make up brush roll into a legit PEN ROLL:
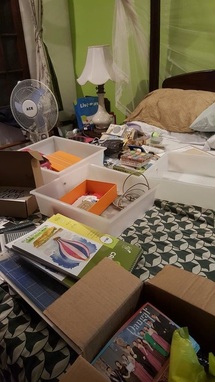
Every once in a while you gotta get your act together, clean up and rearrange.
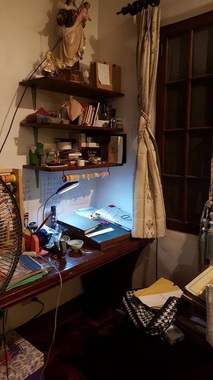
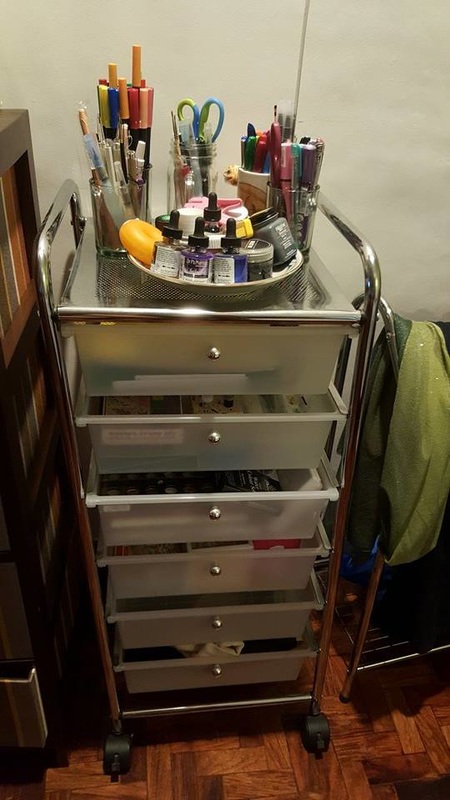
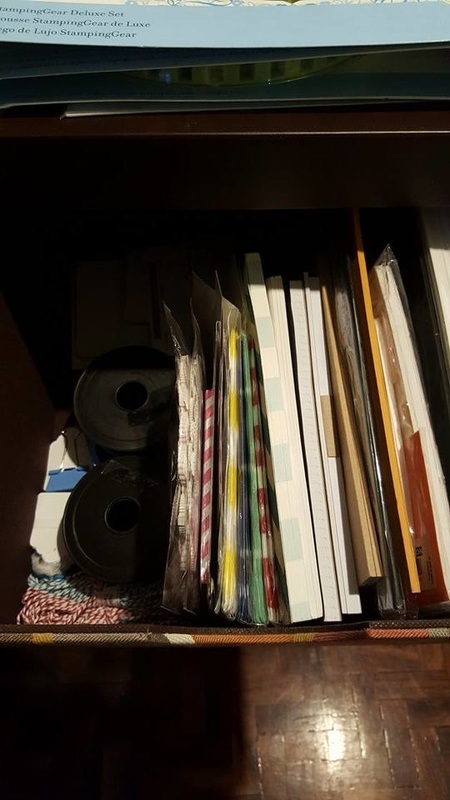
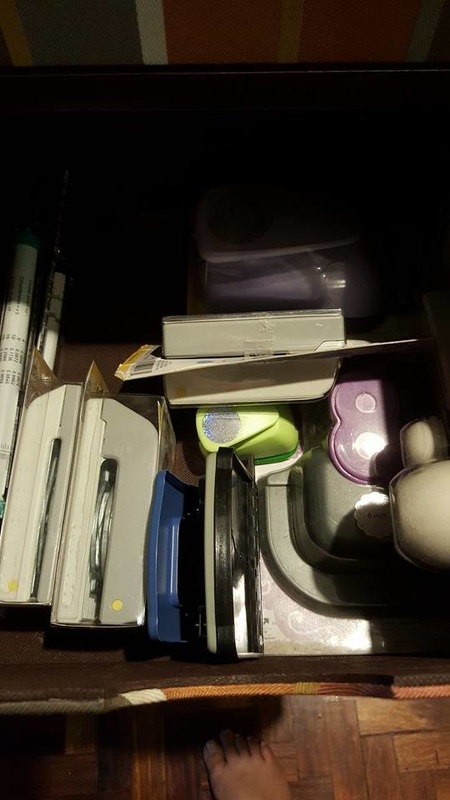
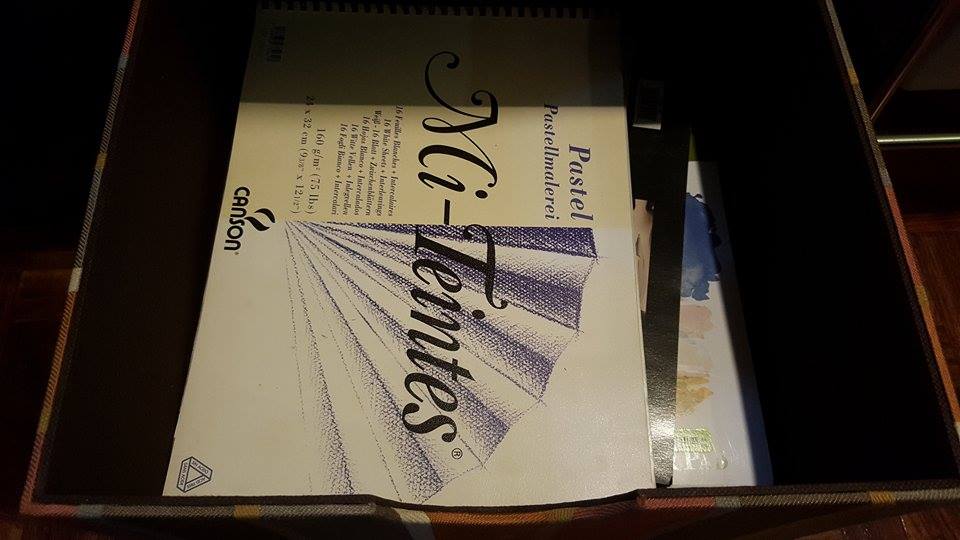
When I start this "creative" journey late last year -- September to be exact-- I didn't have much when it came to equipment. I only had one starter calligraphy kit ordered online via Scribe which consisted of a few nibs, one nib holder, 2 bottles of ink and practice pages. Fastforwarding 9 months later my hoarding skills have kicked in and I've apparently amassed a large amount of "crafting" things such as cutters, punches, inks, paints, pens, paper, doilies, scissors, stamps, etc. My art space has gotten considerably cramped that after a while I was running out of places to store things. I read somewhere that having a disorganized creative space isn't good for inspiration -- a lot of blocks that juices don't flow. Which would probably explain why I have limited my practice as of late to watercolor and brush pens. Taking my nibs out to play would mean so much work because I'd have to look for the inks place them in containers, look for the nibs and place them into holders. Luckily while on a client call yesterday I saw a beautiful yet simple chest of drawers in the local cooperative. The drawers were made of Abaca housed in a wooden frame. Perfect addition to my room because it was small enough that it wouldn't consume so much space yet the right size to house my growing craft things. Also, I had a couple more art supplies arriving and I needed to find a home for them fast!! 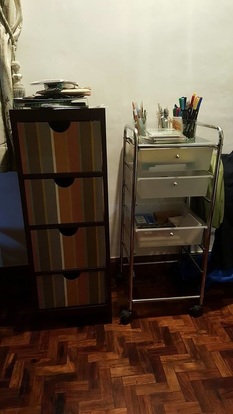 my new storage area: Abaca Drawers & Plastic Drawers Now that I had the drawers, I needed cheap containers to put my pens, pencils, brushes in. The local bargain store (101 Shopping Mall) sold wide mouth glasses for Php12/pc so I bought a set of five. They were the exact size to put my Tombow brush pens, brushes, chalk markers, Sharpie pens, gel pens etc in. (Yes A LOT OF PENS!) My mom also gave me a few plates from a Japan Surplus Store which now displays my most often used inks and paints. Each drawer has now be categorized to hold the following art supplies:
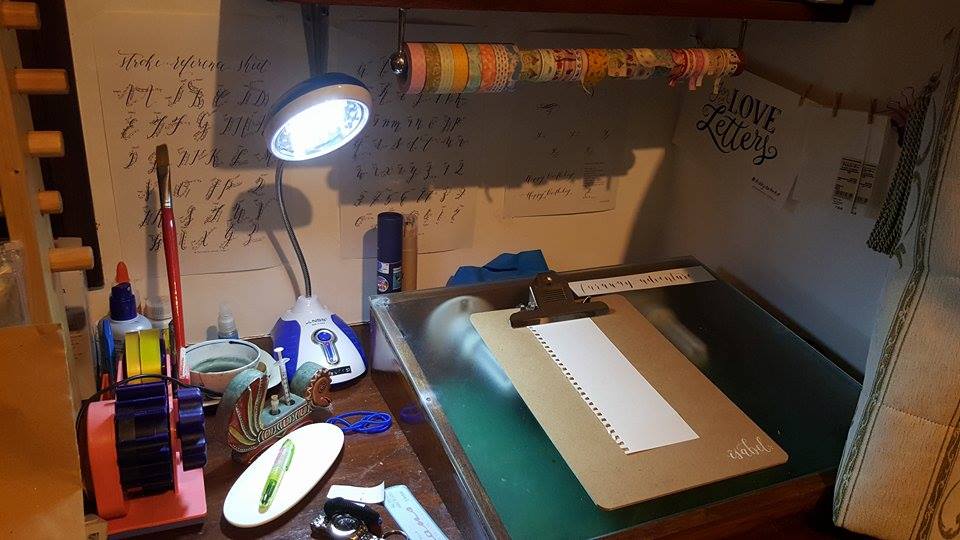
Now that all my "weapons of art destruction" have been properly put in their places, my table is in a much better place. Perhaps this will lead to more inspired pieces. I even, for added inspiration, hung Abbey Sy's work in a prominent place to remind me that creating is a process. Here's a final look at my little ART NOOK. Im taking a little break from reviewing to immerse myself in art therapy. These past few days have been high strung what with being public relations people (AKA tour guides), reviewing for a board exam and to top it all off --down with the flu. Hubby and i have been keeping long nights and stressful days which is why i find that some #arttherapy is needed. 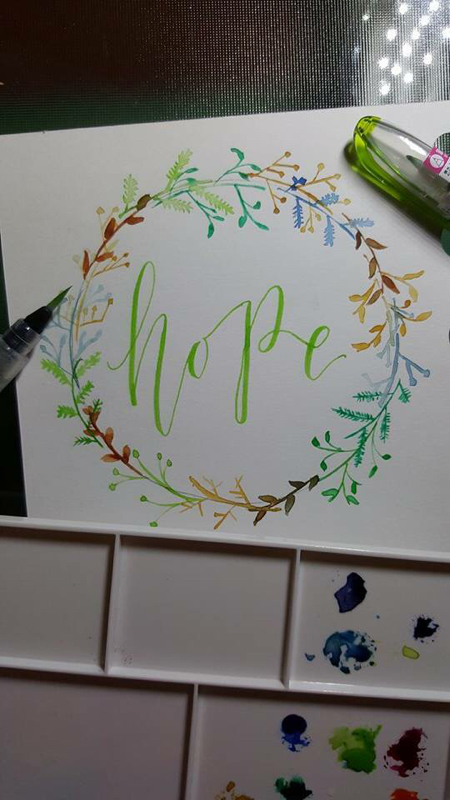 Ive decided to bust out my new holbein watercolor set. Yes guys i have graduated to a full-on "artist" set of watercolors becauase i was forever getting annoyed with how prang would dry up sticky--making my papers clump up--or that ants seemed to love them making my storage its own ant hill. Holbein is so much more pigmented (which is probably why its so much more expensive) because with just a tiny dollop i am able to paint a lot. Colors are also more vibrant and dont get watered down so easily. What i am not happy though is that i was only able to buy them in the tube form and not in the pan--which translates to me having to get a mixing palette. But aside from this i am extemely happy with the purchase. For my test piece i decided to make a watercolor wreath. I dont know why but laurels and wreaths are all the rage now in the "mod" art scene. I see it all over Pinterest and my IG feed. So why not go with the flow and create one of my own? It was a relatively easy process, i just google-image what a wreath looked like and draw inspiration from the photos. The process was more for my brain to relax with the easy strokes and no-brainer painting. The finish product came together beautifully and i topped it off with my "claim word" for the day:HOPE. So there. Enjoy! For my birthday weekend I decided to attend a workshop by Abbey Sy. Luckily the stars have aligned allowing me to be 1 of only 12 slots Fully Booked opened for their Alabang session. Abbey's classes get full fast!I was even wait listed and perhaps God was being extra generous he freed up a spot for me. 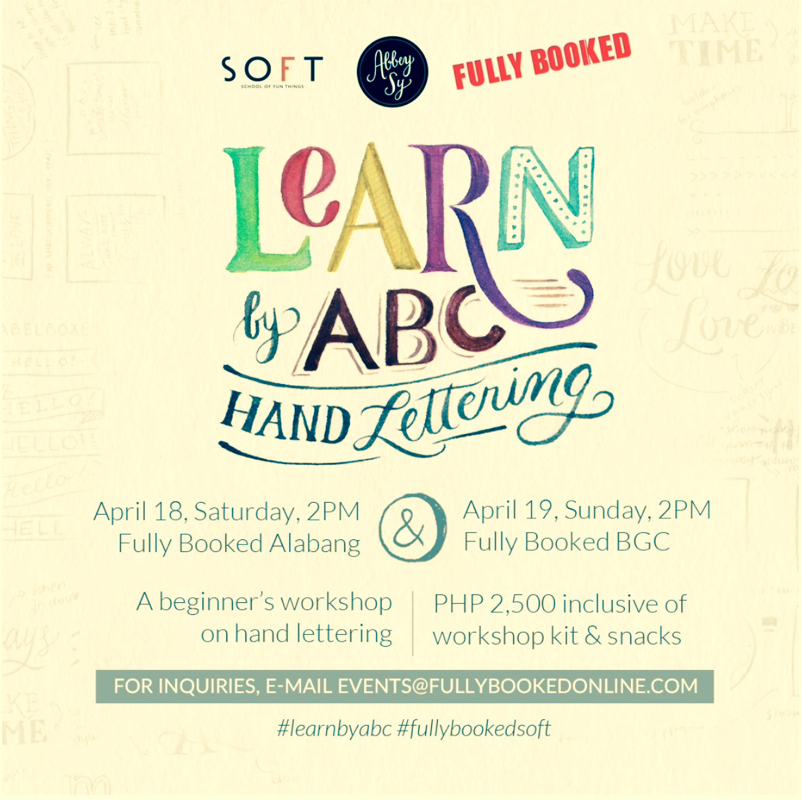 Class started a little past two and I was a bit intimidated by my classmates. They all looked so artsy that I wondered if I'd be the most kulelat (suckiest) of them all. The reg fee covered snacks and worshop materials. Aside from learning from the teacher another thing that draws me to these kinds of workshops are all the freebies they give to attendees. This was no exception. Check out what I got! 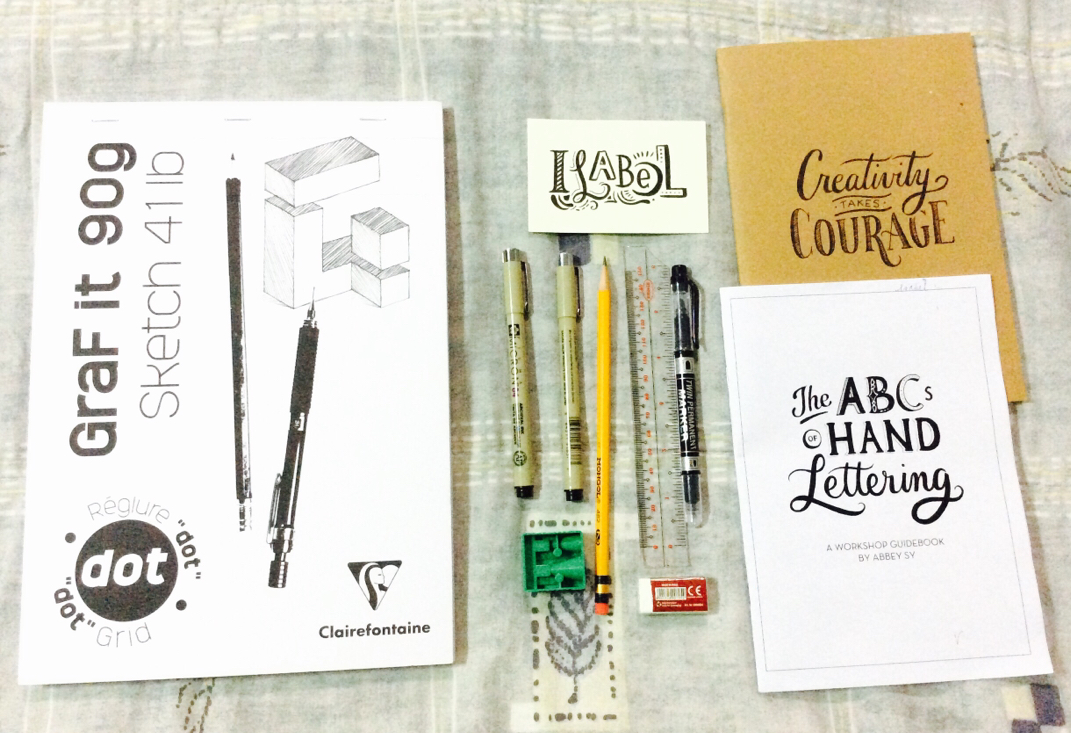 Workshop treasures So much stuff!! The 2 things that totally made my hoarding self shout for joy were the micron pens and the dot pad. The pens alone are so hard to find and always go out of stock. The dot pad is by Clairfontane and isn't exactly cheap! So to get these and more just really made my day! Class started by going through Abbey's workshop booklet that outlines different terminologies, details of font kinds and even tips on hot to make your works of art POP! Our first try was a drill about writing one word in different font styles: serif, sans serif, script and decorative. Time allowed me to do 2 words: forever & adventure. Relatively easy I finished after a few minutes. Meanwhile Abbey lends us her literature wealth by passing around different books we could get inspiration from for our final product. 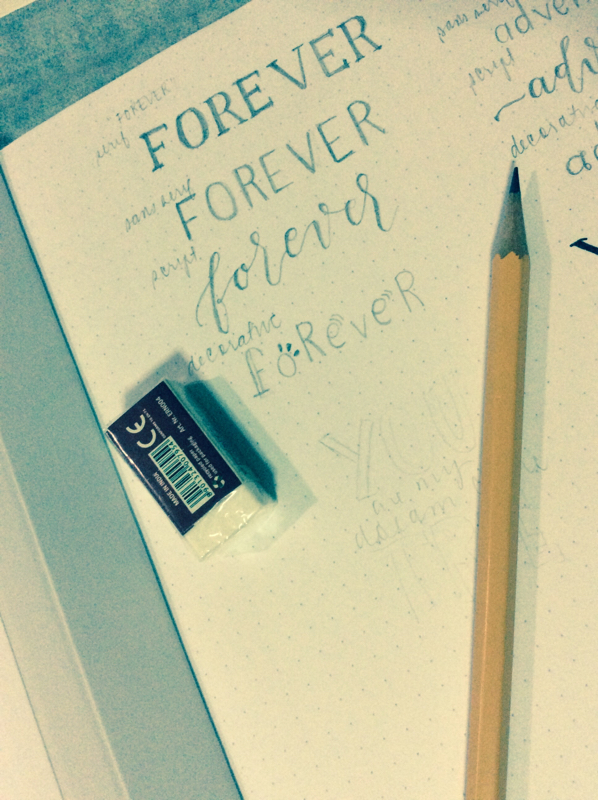 Drill # 1: forever My first try at it wasn't stellar but I began to get a hang of what it means to letter. The process,as Abbey, mentioned isnt just visually artistic it is also scientific. You have to hierarchically categorize the words in a phrase by giving importance to those you want to initially highlight. For the class' final activity I picked the quote: you are my dream come true. I didnt know how i wanted to lay this out but drew inspiration from the books Abbey had. In the end, the final product looked like this. 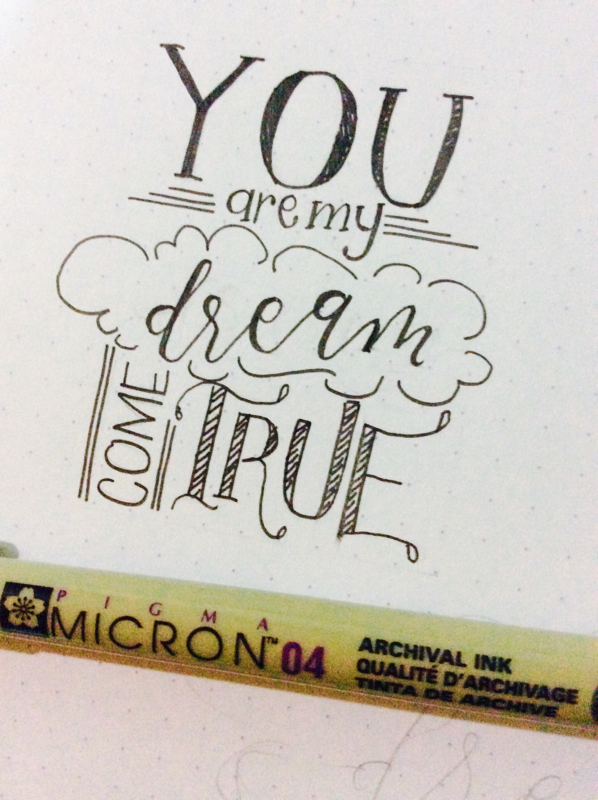 Not bad for a virgin attempt right?? Armed with this new knowledge (and awesome tools) i am looking forward to practicing this newfound skill. 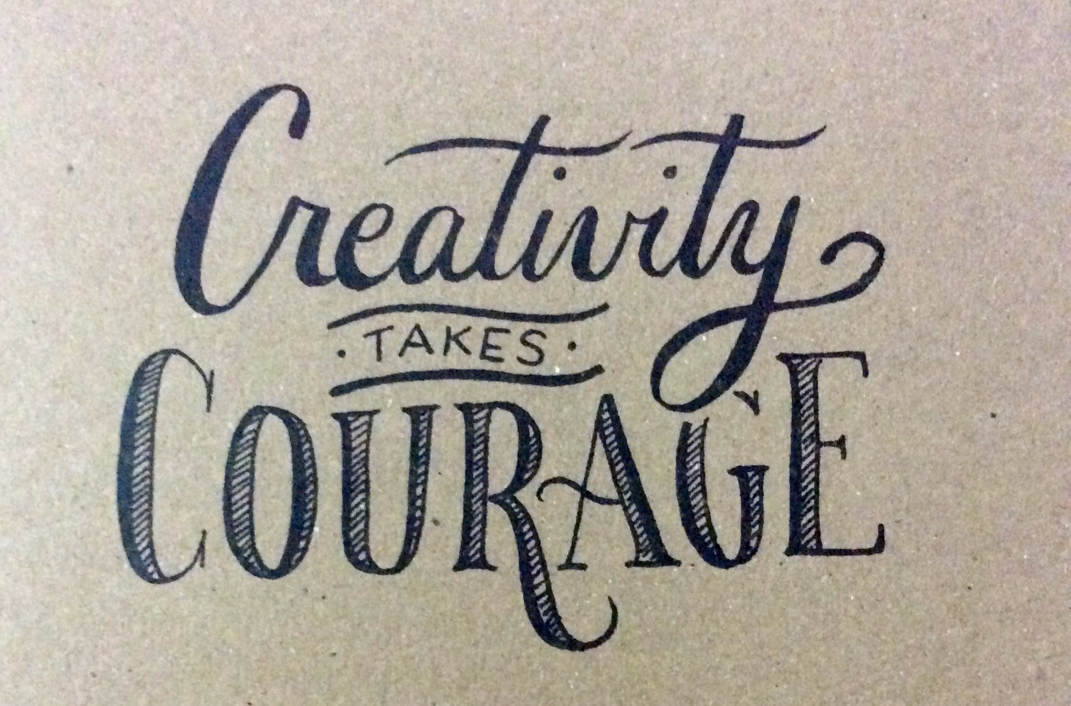 Quote written in front of the notebooks Abbey gave each one of us. So very apt! |