|
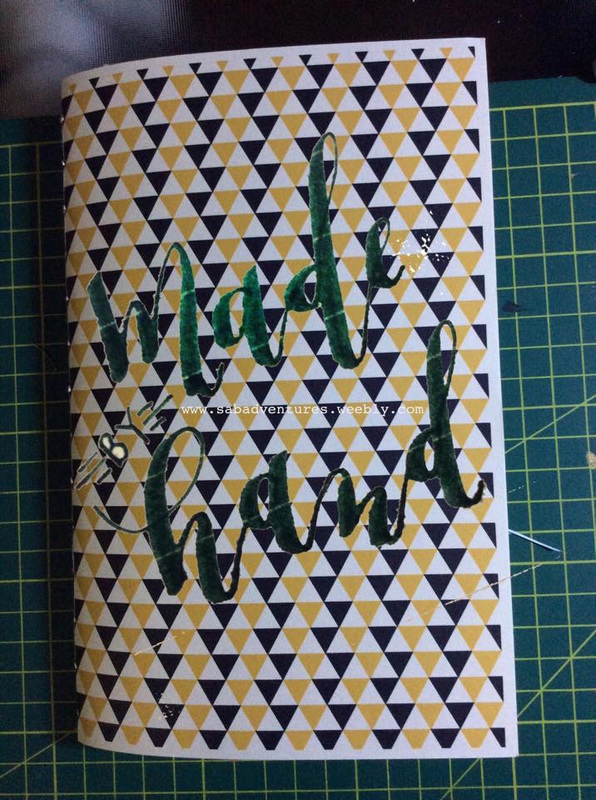
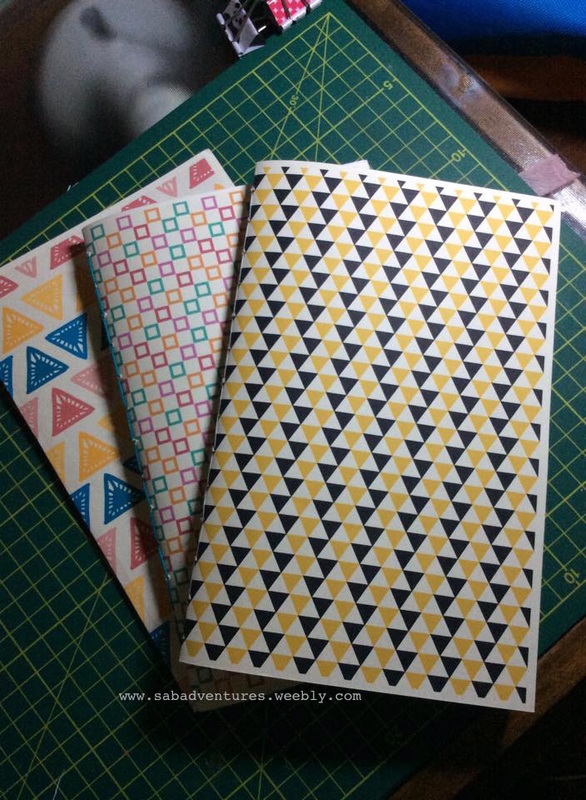
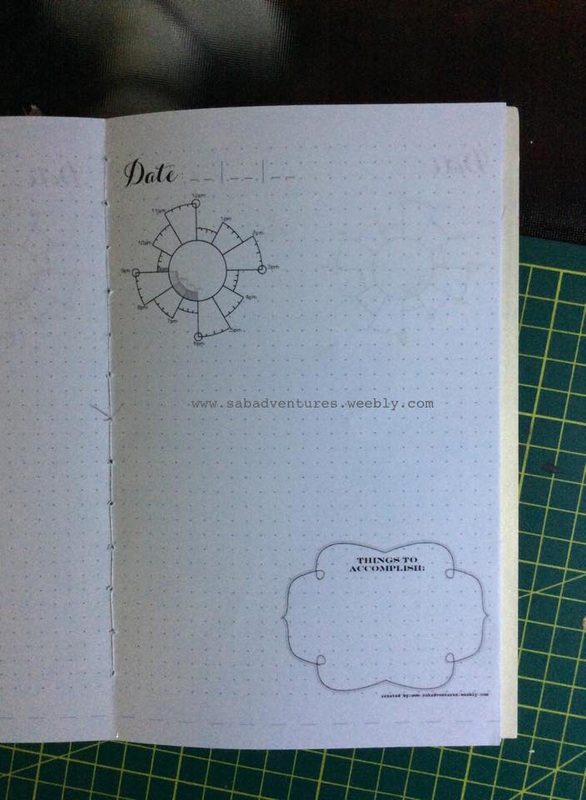
My fascination in the flesh! My previous blog post was all about how I wanted to DIY a Midori for myself: a Fauxdori! This spawned countless pinterest searches and dreaming of ways how I could finally make my own leather-bound journal just coz I was being cheap and didn't want to shell out Php3,000 for the original. (At the same time, I wanted to learn something new.) Thus meet my DIY Fauxdori!!!  my Fauxdori made out of 100% leather and personal sweat! 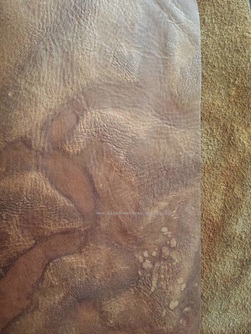 my leather cover in its naked beauty my leather cover in its naked beauty My DIY started from the inside-out. I made the notebook fillers first and really enjoyed customizing my inserts for my needs. (I have also done research on bullet journaling which might be a topic for future blogging!) My previous blog ended on how I needed to find genuine leather for the cover as well as an elastic band. Luckily my husband's wanderlust led him to a hole-in-the-wall shoe repair shop that had big sheets of leather. They didn't want to sell us such a small piece at first but in the end they capitulated to my husband's charm. I went there today with a sample filler and had the entire thing measured. After 30 minutes I had my raw cover. Sidenote: they also have other leather colors and you can even request for a lining. But i like the raw finish on this one so decided to leave it bare. I was also able to find an eyelet punch and setter in National Bookstore for PHp340.00. Lucky me because it was the last piece there---and falling apart at that! Good thing I snapped it up before someone else could. For the elastic cord it comes at about Php25/yard here in sewing supply shops and it only came in black. I'm fine with that. I'll look for other colors another time. So with a complete set of necessary tools I went about punching my leather and setting up my fauxdori! Look at the photos below to see the process.
1 Comment
I am totally fascinated by the Midori Travel's Notebook 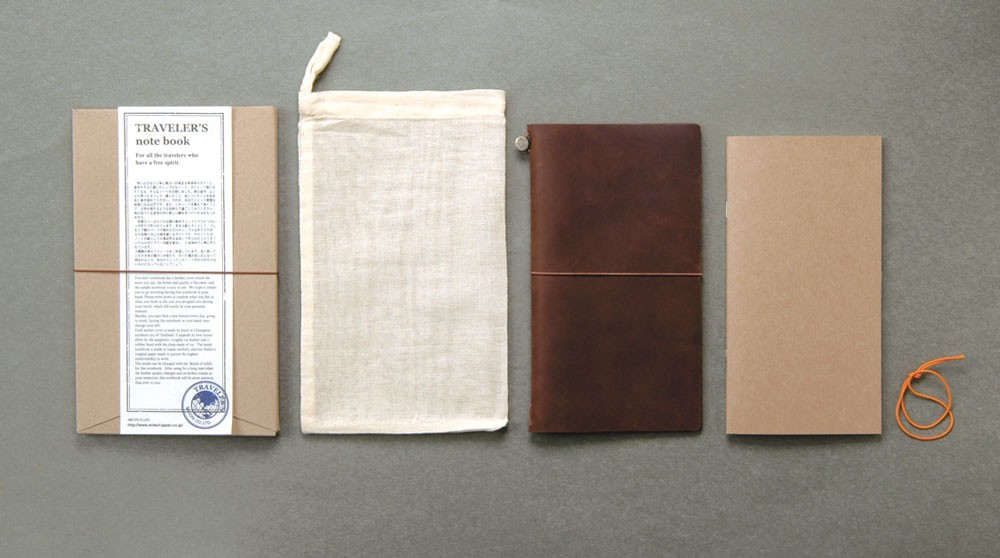 image from: www.thejournalshop.com image from: www.thejournalshop.com I didn't think much of it before when I would see small scale scrapbookers sell them in bazaars but the Midori Traveler's Notebook (or MTN) has consumed me these past few days. It is an extremely flexible journal and rumor has it the paper is very ink friendly -- meaning you can use fountain pens and other calligraphy tools. Such an amazing Japanese product! The price as well here in the Philippines is quite amazing -- genuine leather isn't cheap and the set costs almost Php3,000. Which is no wonder why there are a lot of fake Midoris sprouting all over the net that the term fauxdori has been coined. The internet is a wealth of information on how to DIY you way to owning a Midori-like journal. A simple search on youtube would yield numerous results. Here are a few of my favorite resources: You guys can even go on Pinterest (which is what I did) to get inspiration and even more ideas. My search yielded numerous tips to creating and personalizing your own Fauxdori to the point of making inserts that cater to your needs. I found a wealth of FREE printables and customized my own pages to make my very own planner-cum-journal. The entire process is very easy that in one afternoon, with limited graphic design skills, I was able make 2 notebook-fillers. I have always been fascinated with Astronomy and still remember reading, as a child, Reader's Digest Children's Encyclopedia Books and trying to get to know as much about the starts and planets as my little girl self could. Fast forward to today and my current fascination with water color. Ever since finding the wonder of water color paper -- which incidentally is so hard to find/purchase here in Legazpi--I have been finding out ways to experiment with my present collection of palettes. In turn I always find myself relying on my super-cheap Prang set because I just love how the colors pop even if they've been watered down. This afternoon's art-attack was brought about by mixing these two faves: watercolor + outer space. I made galaxy gift tags-- or at least galaxy inspired gift tags! 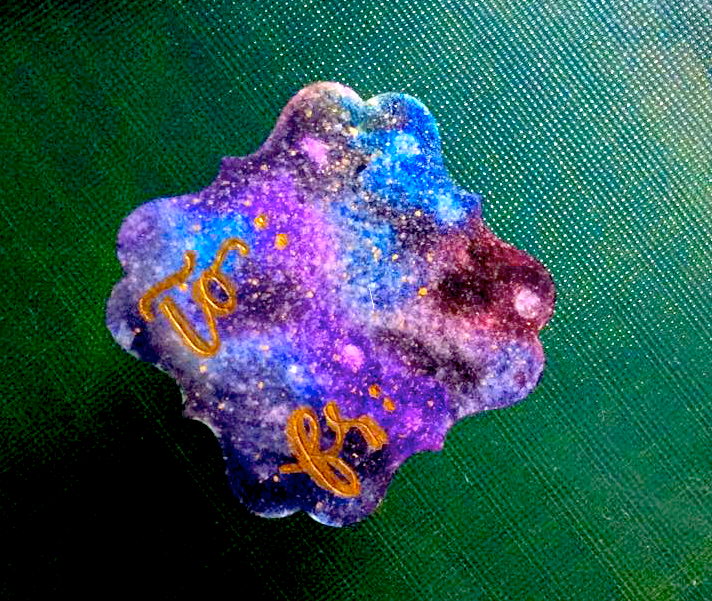 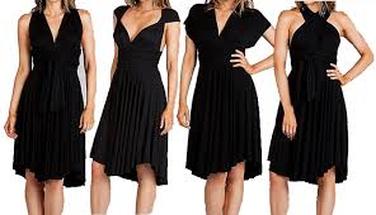 photo from: http://tradeortreat-seek.blogspot.com photo from: http://tradeortreat-seek.blogspot.com I am Isabel and I am an addict--- an INFINITY DRESS addict.
The concept of an infinity dress has been around for a long time but fashion-wise has not been heralded as the next best thing. And I for one wonder why? This dress -- also called a convertible dress-- is one piece made out of stretch material that you can wind around your body in numerous configurations that it is never looks the same twice! I first came upon it during a wedding when a friend wore it thought "what a fantastic idea!". This was years ago and I didn't realize the usefulness of it until I was staring at my wardrobe looking for something formal to wear -- one that I had not worn more than 5x. Ever since I saw watercolor pegs on Pinterest I was hooked. Don't get me wrong, prior to this sudden fascination I have never dabbled in painting of any kind and was always intimidated by it. (Colored pencils was more of my thing because if you made a mistake you could just erase it-- watercolor/painting seemed more final to me. ) Luckily watercolor has been forgiving of my amateur hands. I have always liked the watered down look of it almost like it just stained the paper by accident instead of deliberately being placed there. During my local haunts of cheap-o bookstores and school supply stores I chanced upon blank flash cards that teachers use as a class aid. I didnt think much of it that time until I realized that I keep cutting my watercolor paper to size for cards and stuff. Then it hit me-- why not just use the bank flash cards as my card base?? The next question would be-- will the cards be able to take the water content? 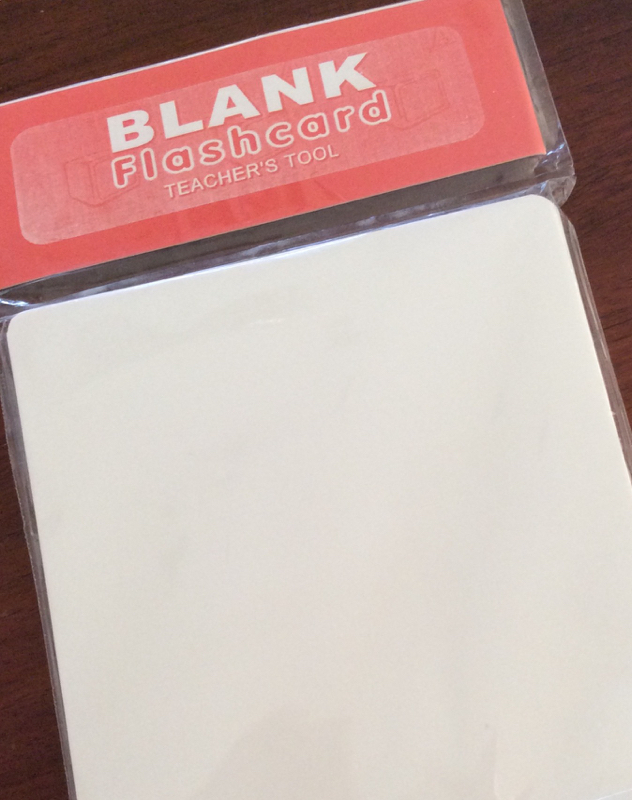 Blank Flash Cards that go for PHp35.00/pack I took them for a test run this afternoon with my prang watercolor set. Despite being the cheaper one of my 2 sets (the other one being Koi Sakura), the PRANG bleeds more giving that water-stained look that I love. 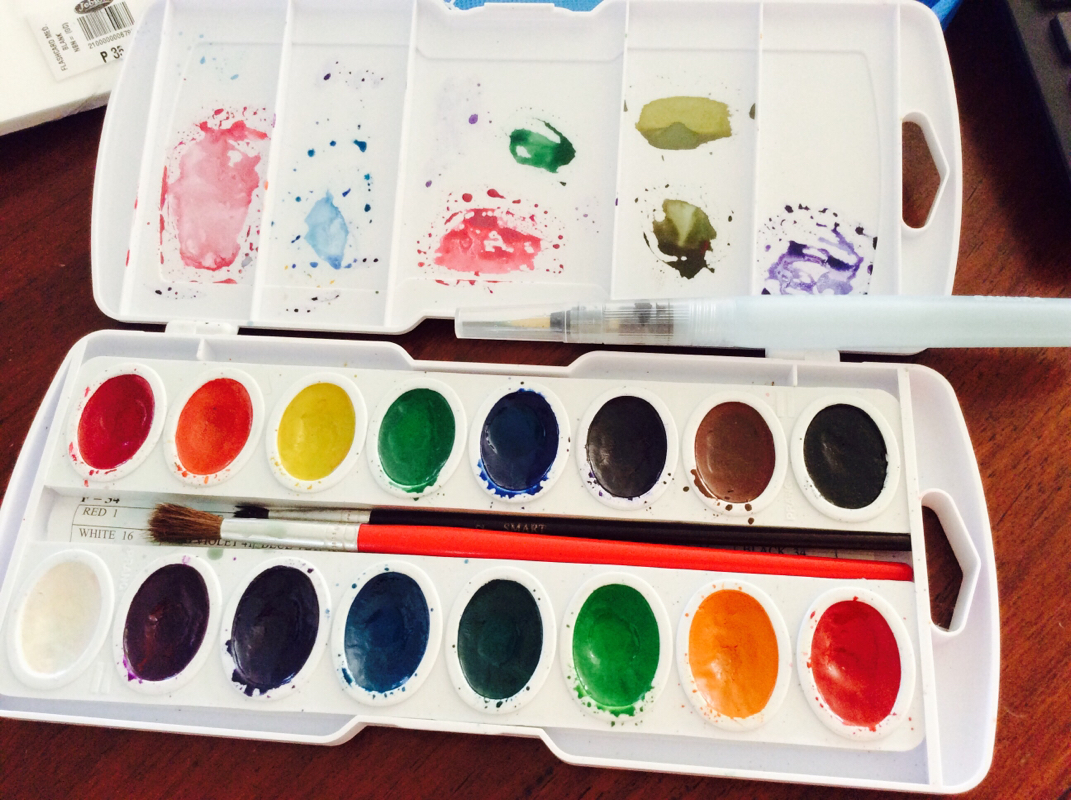 my Prang Watercolor Set --- very forgiving and accepting of my amateur painting levels I am happy to report that these blank flash cards can take the paint pretty well. There are some crumpling because of water content but you can just flatten the card between two heavy books when to straighten once the paint has dried. Take note, though, that the card has two sides -- a shiny and a matte -- and I find that the paint is more absorbed in the matte finish. I'll try next time on the shiny finish to see what I get. Side note: I did a little calligraphy on one card with my cocoiro pen and it slid effortlessly on the paper. You just have to wait for the ink to dry before moving to your next word -- more patience on my part since im LEFT handed. HAHA 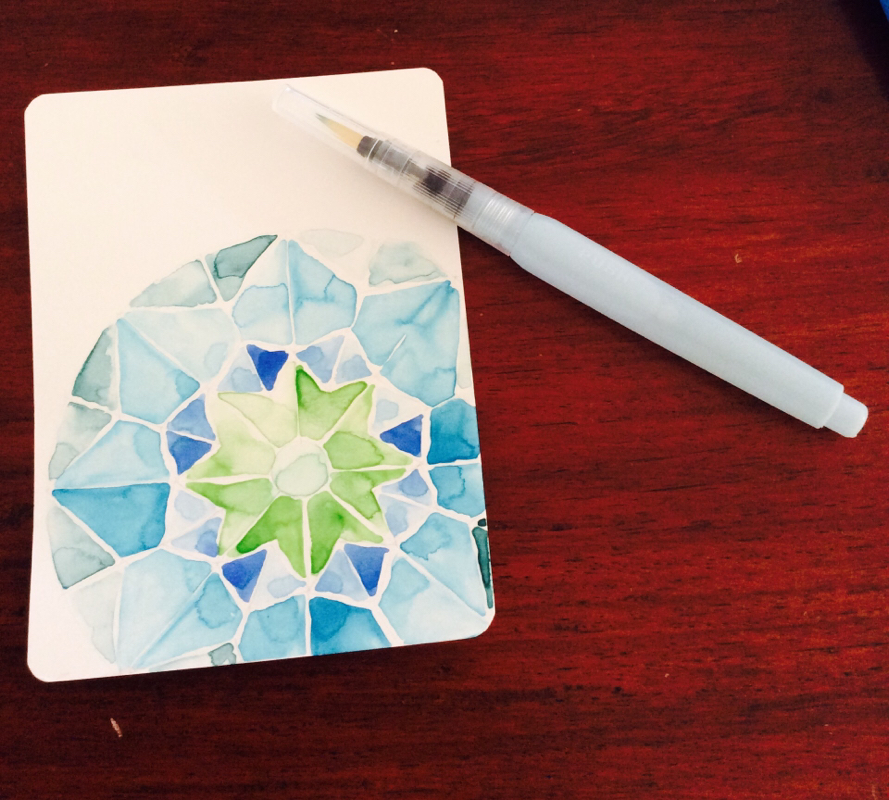 "Water-stained" card |